Our Summer Garden Maintenance Routine
Gardens aren’t exactly a “set it and forget it” kind of thing. A consistent maintenance routine is necessary to keep your garden healthy and blooming brightly! If summer garden care isn’t your area of expertise, this beginner’s guide will help you stay on top of all the essentials. Follow This Maintenance Routine for a Gorgeous […]
Ornamental Trees and Shrubs: Pretty With Purpose
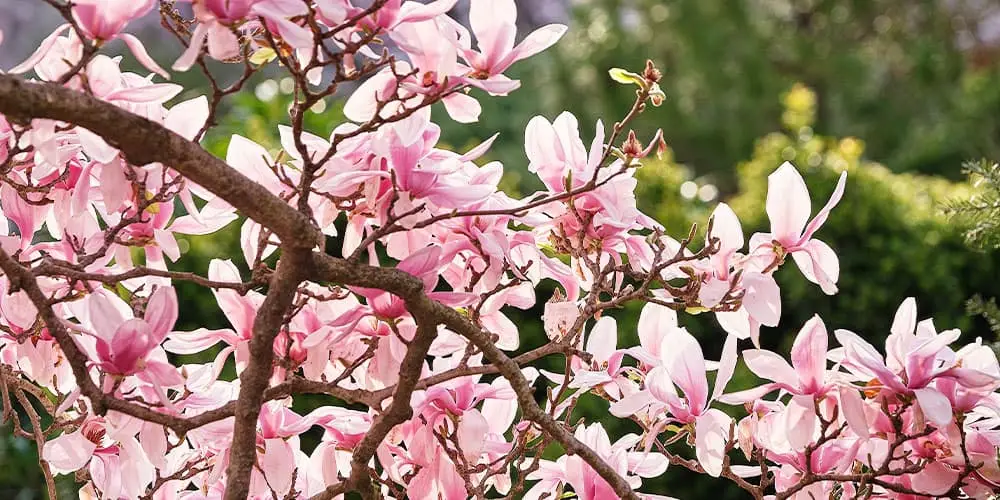
There’s never a bad time to spruce up your garden game with another show-stopping ornamental tree in your landscape design. With so many different species of trees available, from evergreens to flowering trees, it can be challenging to decide which one best complements your space. We’ve outlined a selection of popular ornamental trees that are […]
All About Pollinator Gardens
New Hampshire is in full bloom, and your garden is about to enter a busy period of growth, pollination, and flowering! However, this entire process would be obsolete without the helpful role that earth’s pollinators play in pollinating your garden. In a time where pollinator populations are consistently declining, there is no better time than […]
How To Trim Your Hydrangea
The hydrangea’s pom-pom-like blooms, spectacular variations of color, and fresh, delicate scents are just a few of the many reasons these flowering shrubs are so special. As a summertime favorite in New Hampshire, hydrangeas add a distinctly beautiful essence to your landscape. Here’s how to trim them for the best growth! Types of Hydrangeas and […]
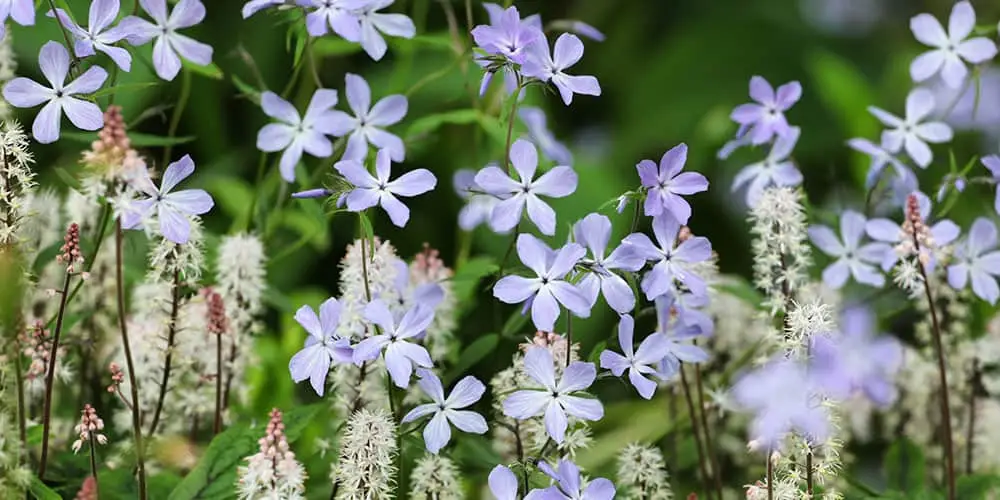
Groundcovers: What They Are and Why We Love Using Them
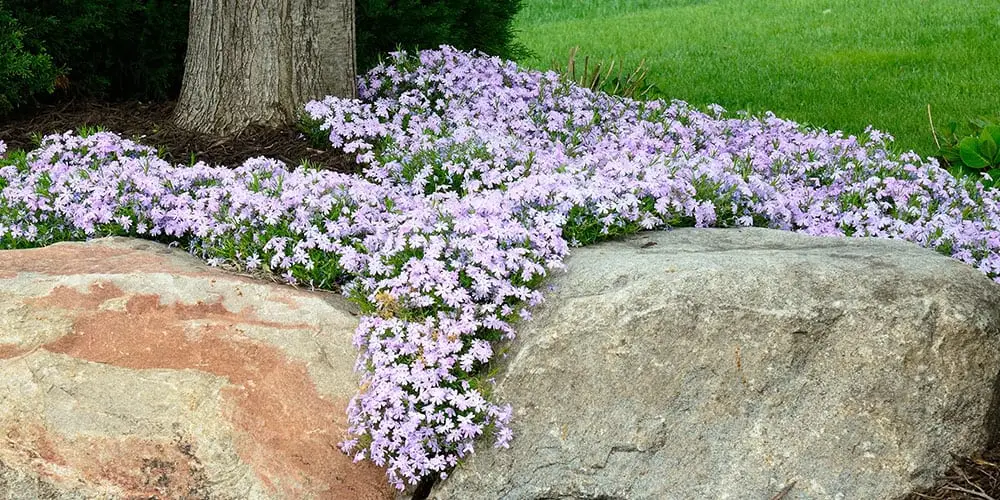
Groundcover plants are what they sound like: they’re plants that cover the ground! Many groundcover plants are flowering, so they bring beautiful color to the landscape. They tend to grow lower to the ground, though some have flowers that rise, adding height and texture. However, we don’t just grow groundcover plants for ornamental purposes—there are […]
The Best Herbs and Vegetables for Container Gardens
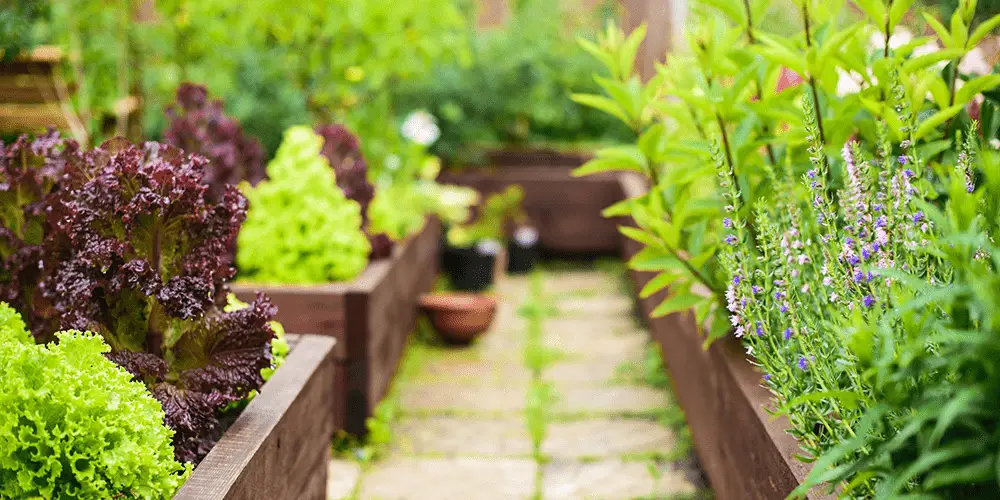
Looking for some creative ideas for your container gardens this year? Why not make them equal parts stylish and functional by growing edible plants? There are so many tasty vegetables and fragrant herbs you can use to elevate your home cooking. Nothing beats homegrown produce straight from the garden—or the kitchen windowsill! Growing Food Becomes […]
Our Top 8 List of Gorgeous Flowering Shrubs for Moultonborough
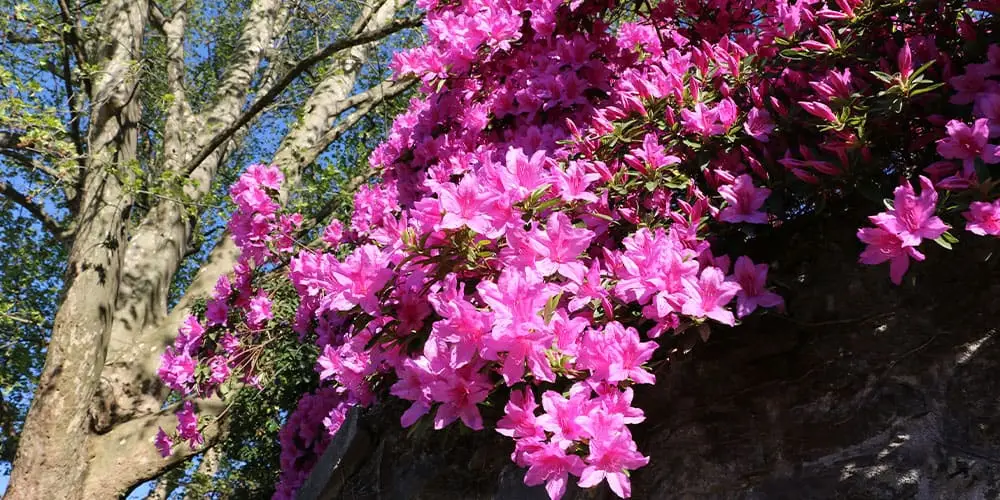
We love flowering shrubs. They add so much style, color, and personality to the landscape, yet they’re so low-maintenance and ask for so little in return! Transform your yard—and increase your property value in the process—by planting some of these dazzling landscape plants this spring. These Flowering Shrubs Are at the Top of Our List […]
It’s Time for Spring Clean-Up in Moultonborough!
Spring cleaning isn’t just for your closets and cupboards! Doing a thorough clean-up of your landscape every spring is important—after all, patio season is about to begin! Plus, it’s an opportunity to go through your yard and identify any problem areas that need attention. Add These Outdoor Tasks to Your Spring Clean-Up Chore List Grab […]
The Best Native Plants for Your Landscape
Much of our childhood is attached to the scents, smells, and sights of the native plants around us. They’re like old friends who we’ve known our whole lives. We can get to know them even better by growing them in our landscapes. There are countless benefits to growing native species in your gardens. They’re more […]
How to Add Texture to Your Landscape
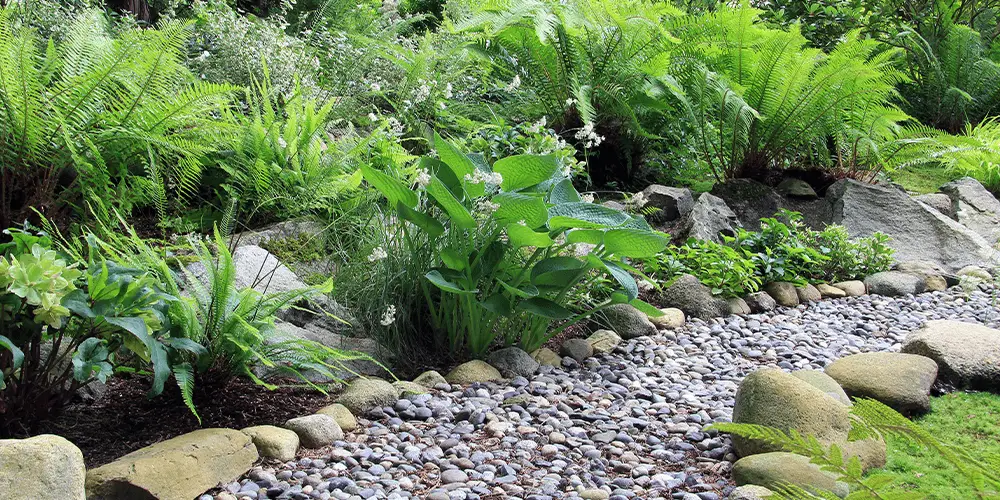
Texture is a defining feature of any beautiful garden. From soft and airy to bold and impressive, a variety of textures gives your garden another dimension of feeling. You can achieve this by growing an assortment of plants or using different materials in your landscapes. Here are some ideas to get you started! How to […]