Shoreline Tree and Vegetation Management Rules for Waterfront Properties
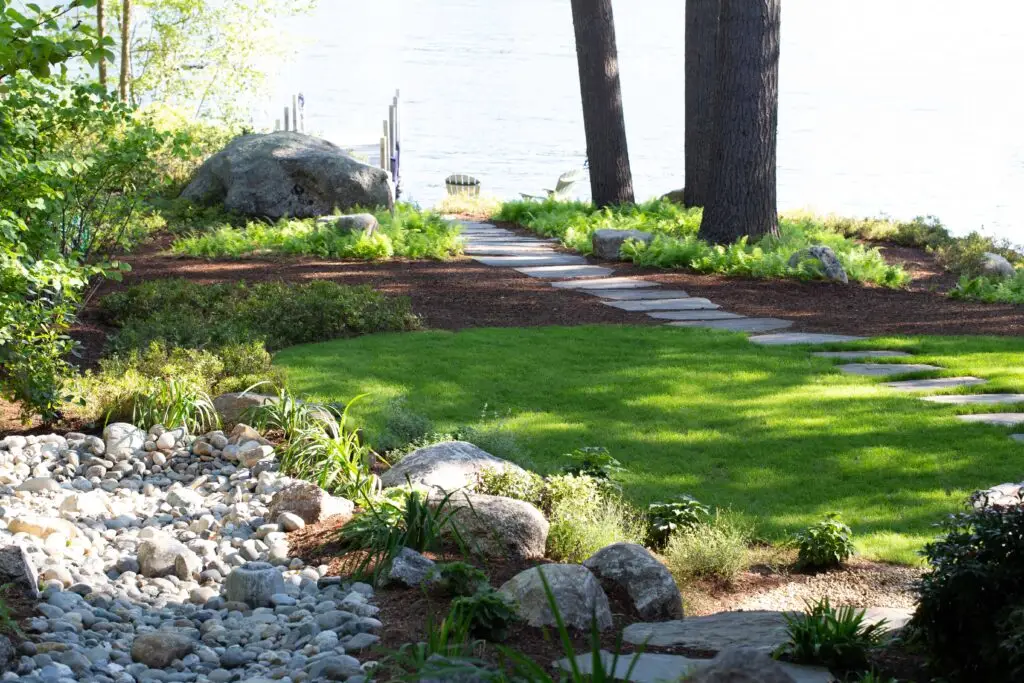
People are drawn to the beauty of New Hampshire for its mountains, wildlife, and its numerous pristine lakes and ponds. The Shoreland Water Quality Protection Act (SWQPA) was established to protect the natural resources and to oversee the management of shoreline properties. Protecting our natural resources and the quality of our public waters is the […]
The Benefits of Working with a Design | Build Firm like SLP

Thinking about updating outdoor spaces at your home or business? Whether it’s plantings, adding a small patio, or a complete transformation of your property, there are many benefits to using a professional design service rather than doing it yourself. Expertise. Depending on where your property sits, there can be a lot of rules and regulations […]