Springtime Success

Landscape Maintenance

Now that the snow and ice are receding a bit, and we are beginning to get tiny glimpses of spring, it’s time to prepare our outdoor spaces for warmer weather. With a little bit of preparation, it won’t take much work to make your yard ready for use in the warmer months to come.

  1. Clean debris. The first thing to do is to walk around your yard and see what happened over the winter. You’ll likely notice debris and broken branches left over from the winter storms; leaves that fell after the snow started or that didn’t make it into the last fall clean up; long forgotten birds’ nests, paper, wrappers, and other miscellanea that blew in from the road. A quick raking will take care of all these issues and make your yard look cleaner in no time.
  2. Trimming. Next, you should trim bushes around your property that may be overgrown, or whose branches might have received damage from heavy snow. It’s also a good time to trim tree branches that may be dead; with no leaves on them, you can really get up close and inspect the branches thoroughly.
  3. Mulch. Late April or May is a generally good time to apply mulch around trees, shrubs, and other plantings. This is because weeds have not had a chance to grow yet, and the soil is beginning to warm up. Mulching in the spring will also lock in nutrients needed for your plantings and add to your yard’s aesthetic when the warm weather comes, and everything starts to grow and bloom.
  4. Fertilize the lawn. The grass is waking in the spring and needs to be fed, and late March/early April is the perfect time to start applying fertilizer. It’s also a great time to deal with crabgrass if you have patches of it on your lawn.
  5. Spreading the snow. If you have big piles of snow on your lawn, it’s a good idea to spread it around on your lawn more evenly, so some spots of the lawn aren’t overly wet while others remain dry. (Try to stay off the overly wet part until it dries out a bit to give the grass a chance to grow and not have that area become a muddy mess.)
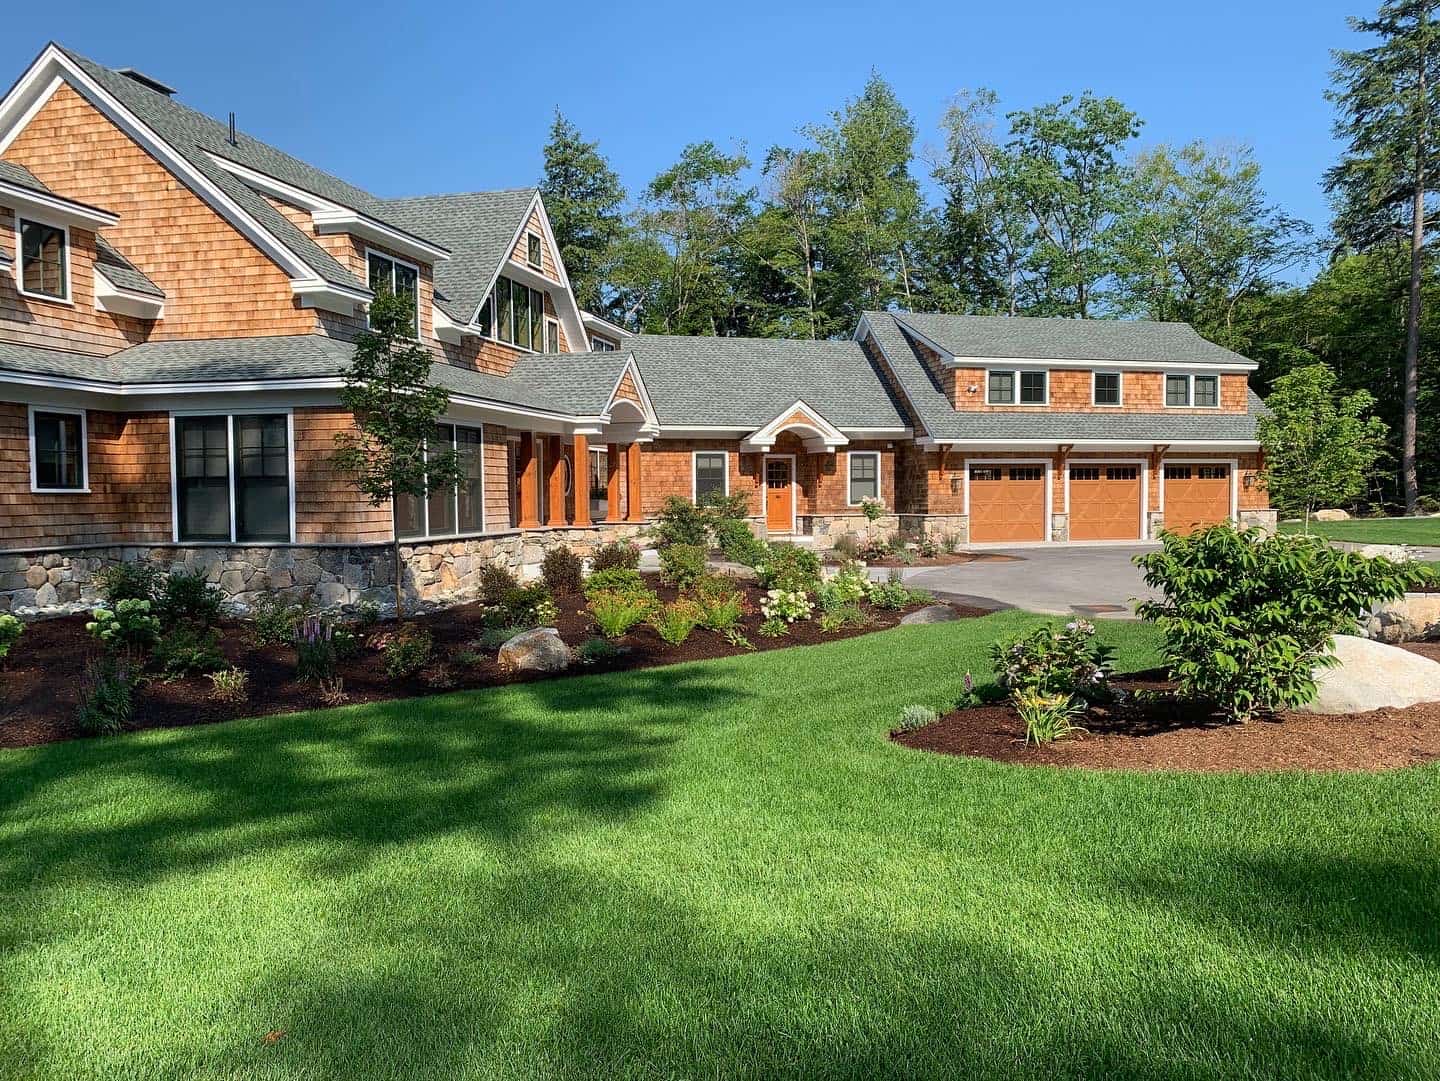
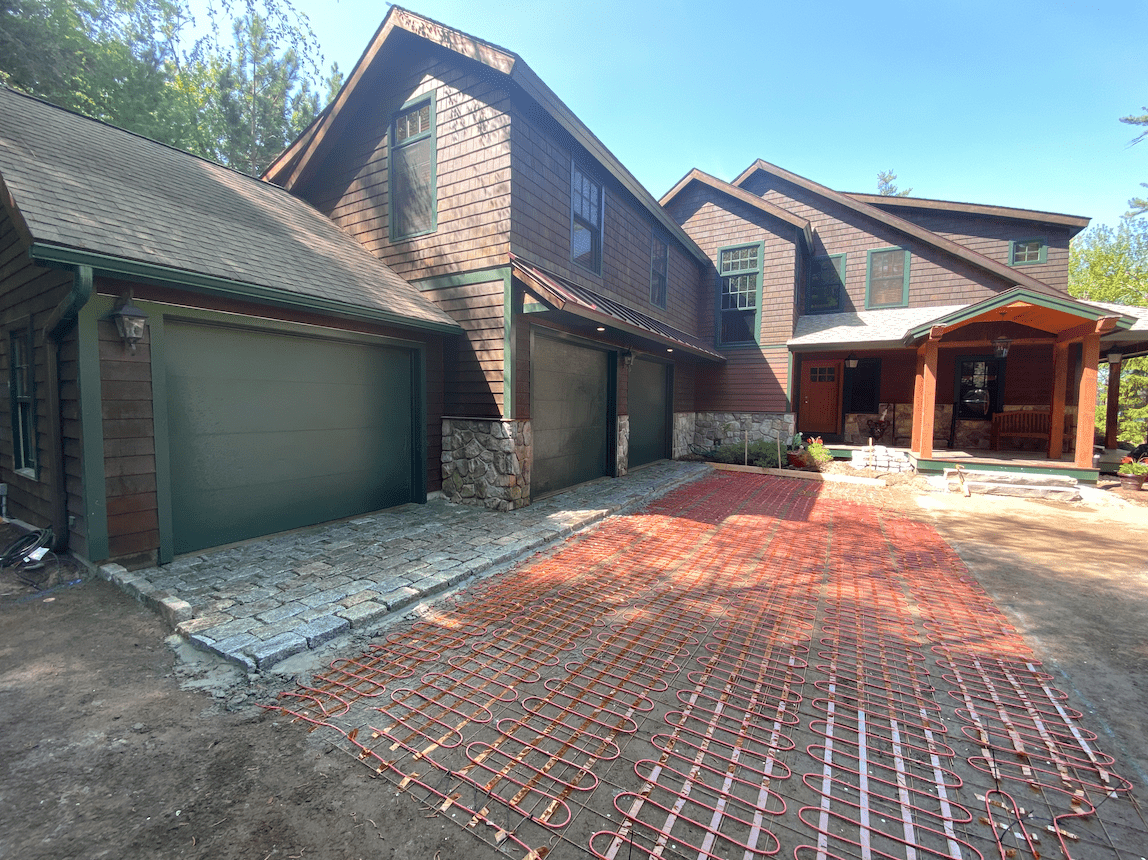
  6. Reevaluate entertainment areas. Now is also a good time to consider how you’re using your outdoor spaces, and decide if you want to make any changes to add or expand on any entertainment areas like an addition of a pergola or pavilion, a built-in spa or hot tub, or designing an outdoor kitchen for example.

Garden Planning

After the black and white panoramas of winter, the thoughts of spring’s color fill many of us with cheerful anticipation. Many of us love the beginning of spring because it’s the signal that we can get our gardens going!

Spring is the perfect time to plan what you want to plant this year. Walk around your property and see if you’d like to make any changes to your landscape, like adding new flowers, shrubbery and trees, or maybe even a fruit or vegetable garden, for example. Spring is also the time to think about replacing what may have died or been irreparably damaged over the winter.

If you are planning a vegetable or flower garden, you will need to start your plants early indoors or in a greenhouse if you are not buying your seedlings from a commercial grower; traditionally, the seedlings are planted outside in New Hampshire after Memorial Day because that’s the last date we can be sure of avoiding a killing frost.

However, you can prepare your outdoor garden soil now by cleaning up any debris, including any old mulch and dead leaves in your proposed garden space. You’ll need to pull any weeds or annuals that may have wintered over in your garden, and loosen the soil with a tiller as the weight of the snow may have compacted it a bit; you can add compost at this point as well, to make sure the soil is well fertilized.

With a little thought and advanced preparation, your landscape, gardens, and entertainment spaces will be ready for spring. We’ll be happy to help with all of this, including creating a master plan for spring success and making the most of your outdoor spaces for increased property value and enjoyment. Please call us at 603.707.0630 or email us to get started.

Water and Your Landscaping

Landscape Maintenance

In this month’s blog, we’ll discuss how to deal with the water conditions of your property: having not enough and having too much.

Dealing with Drought

If it hasn’t rained for a while, look for signs that your landscaping is experiencing water stress—plants with stunted growth or brown or yellow leaves, trees dropping leaves and have some dead branches, plants in the garden may not have flowers or start to seed early, and your lawn may start to show footprints or can’t “bounce back” after you walk on it or may even begin to show brown spots in some areas.

If a drought is coming, there are steps you can take immediately to minimize the damage:

  • Add mulch to garden areas and bare spots. Mulch keeps areas cool and traps moisture.
  • Don’t add any new plants; instead, focus your watering efforts to your existing landscape.
  • Don’t fertilize your plants or lawn. If you must fertilize, cut the amount of fertilization by half. Your lawn and plants are trying to survive, not grow. Fertilization is not needed at this time.
  • Pruning is not necessary, but remove dead branches and leaves, stalks, etc.
  • If plants look like they are going to die, remove them. Try not to waste water on something that will not make it through the drought.
  • Pull weeds. Eliminating weeds will cut down on unnecessary water usage, and your landscaping will look better.

When mowing your lawn, don’t mow too short. Keeping the blades long will shade the soil, reduce evaporation, and minimize any heat damage that may happen during the drought. Consider leaving the clippings on the lawn to help protect it and return nutrients to the soil.

If the drought is really bad and it looks like it will continue, consider letting your lawn go dormant; most grass is drought resistant and will recover when a steady supply of rain returns.

If you have ornamental plants around your yard, consider how long is left in the season. If it’s an annual, is it worth keeping them alive? If the season is almost over, it might be easier to let them die. If you’ve planted shrubs and trees in the past one or two years, they are more susceptible to being lost. Focus your watering efforts on new plantings, those plantings that are expensive to replace, or anything that you’ve planted that has sentimental value.

How to Water During a Drought

Once a drought is firmly established, soil will begin to harden and get impacted. Add water slowly so it gets absorbed instead of running off. A good way to make sure water gets absorbed well is to use soaker hoses. After running for an hour check that water has penetrated down about an inch; if not, run the water longer.

It’s best to water on a schedule, and to water in the early morning. This will stop the water from evaporating and allow time to soak in the soil. Do not water at night; wet grass overnight can cause fungus to grow.

If you have an irrigation system, it’s best to use a timer. Some irrigation systems can connect to your home’s Wi-Fi to monitor weather conditions. These systems control when and how you water your property and respond to water, weather, and soil conditions to deliver the right amount of water at the right time.

Water, Water Everywhere

What if we’re having a rainy summer and we’re experiencing the opposite problem? If you have noted areas of your lawn or garden where water pools, there are things you can do to avoid erosion and have your plants or lawn die from too much water.

One thing you can do is aerate your lawn to assure water is penetrating the dirt’s surface. By doing so, you’ll direct water to the roots of your grass, which will make it stronger and more lush when the rain stops. And it’ll make the soil less compact, allowing it to drain easier.

Make sure your gutters and downspouts are clean, so the runoff doesn’t create erosion around the foundation of your home, garage, or other outdoor structures and buildings.

When planning your landscaping, be sure to properly grade your lawn, garden, and flower beds. And choose plants that love water—ask us if you’re unsure.

For existing landscapes, add soil and grade the surface away from your home. Consider adding terraces to your landscape to help water run down slopes. Prune your landscaping to allow sunlight to dry areas.

For areas that always seem wet or are susceptible to pooling, you might have to install a drain, or consider changing the layout to a hardscape. You can add a permanent water feature and incorporate that area, like a pond, water garden or even a meandering stream with a bridge to your yard.

At Stephens Landscaping, we have a lot of experience helping homeowners come up with a plan for drought and overwatering. Let us help you and your landscape; call us at 603.707.0630 or contact us today.

Making the Most of Mulch

Landscape Maintenance

Mulching has been favored by gardeners and landscapers alike for many years, as mulching adds a nice finishing touch to well-landscaped grounds and protects plants, trees, and shrubbery. Since mulch can affect the soil beneath the mulch, it must be applied properly to not damage the root system of your plants. We’ll discuss what to consider when adding mulch to your property so you can make sure your gardens, yard and landscaping look their best year-round.

What is mulch?

Mulch is the name used for a substance that’s put on top of soil to provide protection or add visual interest to an area. When you are deciding which mulch to use in your landscaping, remember, the best mulch is an organic material, that is, it’s a substance that already comes from nature. Common mulches are made of bark/wood chips, and moss. Mulch comes in a variety of colors, so you can choose one that best complements your property features and landscape design.

Why use mulch?

Mulch has been used to add an aesthetic, decorative touch to landscapes for decades. Mulching around plantings, shrubs and trees adds a dimension of shading under foliage as well as contrast under brightly colored flowers. But mulch serves much more than a decorative purpose.

Mulch can help deter weed growth among your plantings by not allowing sunlight to pass down to them. It will help the soil around your plantings retain moisture, which is always beneficial to their growth, especially in dry periods. Mulch traps water and slows evaporation from the surface of the soil, so plants stay hydrated longer, reducing the need for frequent watering. It can protect your plants during periods of heavy rain, as it will absorb water and protect the roots; mulch will also help minimize soil erosion around your plantings.

Mulch can also help protect your plant’s roots during periods of extreme heat, as it acts as an insulator. The use of mulch can reduce the occurrence of heat damage to both the base of your plants and the surrounding soil. It will also help your plants resist pest and plant disease; in fact, organic mulches provide earthworms and micro-organisms with food, which is great for your plants and your plant health.

During decomposition, organic mulches add beneficial nutrients back into the soil, enriching your soil for next year.

Apply mulch correctly

Once you’ve decided on the “what” (type and color) of the mulch you want to use on your property, you’ll want to focus on the “how” of spreading the mulch. Improperly spread mulch can not only be disruptive to the overall design of your yard, it can also be damaging to a garden or landscape. Mulch that’s applied too thickly can be damaging to a plant’s root system and may stop water from making its way down to the root of the plant, or not allow the area surrounding a plant to drain correctly after watering or a rainstorm.

Start your mulch application by cleaning out the areas where you want to apply mulch. Take out the weeds, sticks, leaves, etc. that have accumulated over the winter months, and water if necessary. Then start spreading the mulch; it’s best to lay down mulch in a depth of approximately 2 inches.

If you’re putting mulch down around plants, shrubbery, and trees, etc., make sure to keep the mulch around three inches away from the plant itself, to help with air circulation around the root of the plant. However, if you’re mulching a vegetable garden, you do want to mulch right up to the stalk of the plant, to help with water retention. Water the whole area after mulching.

At Stephens Landscaping, we have a lot of experience with using many kinds of mulch, and we’d love to discuss which kinds and colors of mulch are right for your landscape and garden. Call us at 603.707.0630 or reach out by email.

Spring is Almost Here!

Landscape Maintenance

Spring is the time of renewal, and that means for your landscapes and gardens, too! While the official start of spring begins in March, the actual start of spring feels like it begins a little later here in New England. We still have bits of snow and ice hanging around in spots, but signs of spring are certainly beginning to pop up everywhere. This transitional period is the perfect time to start preparing your green spaces and gardens for the upcoming spring and summer seasons. Here are a few tips to get started.

Walk Around and Take it In

Before you do anything else, walk around your property and see what needs to be done. Winter can be rough on a landscape, and a lot of damage can be hidden under piles of snow. You may discover holes in lawns from burrowing animals, damage from ice on walkways, broken tree branches and flattened shrubbery, and dead spots of lawn.

Start with a Clean Slate

Once you’ve seen what needs to be done to get your green spaces and gardens ready, the best place to start is with a good cleaning. Now’s the time to remove broken branches, leftover leaves, and the stuff that the wind picks up stuff from driveways, roads, and nearby properties.

Raking your lawn is the best way to clean up any dead leaves that fell during the winter or remain from the last fall clean up. Raking will also remove the bits of grass that did not survive the winter as well as the myriad of twigs and small branches that fell during the snow and ice storms we had this season.

Clean around your plant beds and in your garden area. It’s important to get these areas ready for planting, so once the threat of frost has passed, these areas will be ready to go.

Tidy up the Trees

Early spring is the best time to lightly prune your trees and shrubbery. Heavy winter snows and ice storms are damaging to trees and shrubs, so a light pruning helps to keep them in good shape.

By pruning early, you’re also giving your trees and shrubs a healthy start on new growth. It’s best to prune before any new growth starts, because in later spring and summer, the plant’s energy will be focused on flowering and growth. Shaping the plant will also be easier when there are no leaves to get in the way of your view.

Lawn Care

Your lawn may look a little sparse and brownish this time of year. If you have bare spots on your lawn, once the weather gets a bit warmer and your lawn gets a bit greener, it’s a good idea to have your lawn spot-seeded and fertilized. You can pull out any weeds you see, before they’ve really had a chance to start growing and before you’ve fertilized your lawn.

Don’t mow the lawn just yet, though, even though you may see a bit of winter growth. The lawn has been through a lot over the winter months, and you don’t want to cut it too short while it’s growing in the early spring or you may damage its root system. Wait until it’s well-established and warmer outside before eayou begin mowing.

If you didn’t aerate your lawn in the fall, you can do it in the spring before the real growing season starts. You should also fill in the holes in your lawn at this time, if you’ve found any.

Get the Whole Area Ready

Don’t forget about your hardscapes. Sweep up the patios and verandas, uncover or bring out the furniture, and clean out the planters.

Inspect your irrigation system. If it’s warm enough, turn it on to make sure that it works properly and that there are no leaks. If you find problems, call your irrigation company before they get busy for the season.

Plan Ahead

During the long winter, and especially while tending to your property during this late winter/early spring prep, you’ve most likely thought of some ideas on what you’d like to do with your property this year. Now’s the time collect all those ideas into a plan. Decide to plant a vegetable garden or find a new spot for your existing one to see if it’ll do better. Select new annuals or perennials to bring more color to your outdoor spaces.

Visit our Garden Center in Moultonborough to see what you may want to plant, or if there’s anything new to try out. Of course, you’ll want to wait until the chance of the last frost has passed before planting anything, but now’s the time to plan what you want to plant, and where. We’ve got an experienced and creative team on hand, so be sure to ask for help or see what they are doing for new ideas.


Keeping Your Driveway Snow & Ice Free

Landscape Construction

Winter is a wonderful time to enjoy all that New England has to offer. Our abundant snowfall allows for all sorts of fun outdoor activities. But with the quiet beauty of snowfall comes something less enjoyable: clearing driveways and walkways full of snow.

Wouldn’t it be nice if you didn’t have to worry about clearing your passageways at all? You can have a driveway and sidewalk that stays clear of snow and ice by installing a radiant heating system under their surfaces. Many new houses are built incorporating heated driveways into their design, but installation can be done at existing homes as well.

Heating System Options

There are several options available to keep your driveway and walkways clear of snow: portable mats, a hydroponic (hot water) built-in system, and an electrical (wire grid) built-in system. We breakdown these systems, including installation details below:

Portable mats: These are the easiest and least expensive to install. It consists of portable mats that you lay down before any storm, wherever you want to keep snow from sticking and piling up. They come in a multitude of lengths and widths, so you can purchase mats to best fit your space requirements.

These are a good way to try out a heated driveway before committing to the time and expense of an installed system. The downside is that these mats must be placed before the snow comes and removed after the storm. They should be stored somewhere before the next use.

Hydroponic systems: If you are having a house built, the ideal time to install this system is before the driveway or walkway is laid. If you are adding this to an existing property, the driveway or walkway will have to be torn up, system installed and passageway redone.

This system uses tubing that is installed under the surface of your driveway and/or walkway. A warm, non-freezing water solution gets circulated through this series of tubes, and this solution is heated by a boiler that is usually located in the garage. This system is controlled by an automatic sensor or can be controlled manually. The driveway is then laid on top of this tube.

Electrical (wire grid) systems: Like the portable mats, these are a series of electrical wires that are meshed together in a grid pattern. These mats are embedded into the soil beneath the driveway, then paved over. Again, this is best done before the driveway is laid, but can be done to existing driveways if the driveway is torn up. Grids can be connected to cover the driveway completely, and this system is also controlled by a sensor that can be controlled manually or automatically.

Things to Consider

Apart from the initial purchase and installation costs, you should also be aware that heated driveways and walkways will incur operating costs each year as well. The boiler for the hydroponic system will use additional electricity or gas (however you heat your home) and the electrical grid system will increase your electricity usage.

If you install the hydroponic system, you’ll need to have the boiler inspected each year before the winter season begins, to keep your system in the best working order. While each system will likely give you 20 or so years of use, like any other mechanical system, breakdowns do happen, and you may need to do small repairs and maintenance over the years. If something really goes wrong, you may need to tear out part or all your driveway or walkway to repair the problem.

However, in weighing the pros and cons, having a heated driveway/walkway system to combat the snowiness of a typical New England winter is an absolutely excellent idea. Installing a heated driveway and walkways are wonderful ways to ensure the safety of your family and your visitors around your property this winter and will take away a lot of worry and fuss. You won’t have to find and rely on someone to plow and clear your property, and your driveway will be ready for you whenever you need to use it. You’ll increase the life of your driveway by not exposing it to great variations in temperature, or by being scraped by snowplows and shovels or corroding chemicals to melt ice and snow. And, you’ll increase the property value of your home.

We’d love to discuss the possibility of adding a heated driveway/walkway system to your home. Contact us, or give us a call at 603.707.0630.