Come Join Our Team!
Do you have a knack for growing and caring for plants? Do you like helping people visualize what’s possible around their property and landscape? Is working outdoors a dream for you? Do you enjoy collaborating, creating and maintaining outdoor spaces that are aesthetically pleasing, socially impactful, and environmentally responsible? Here at Stephens Landscaping Professionals, we […]
Keeping it Green
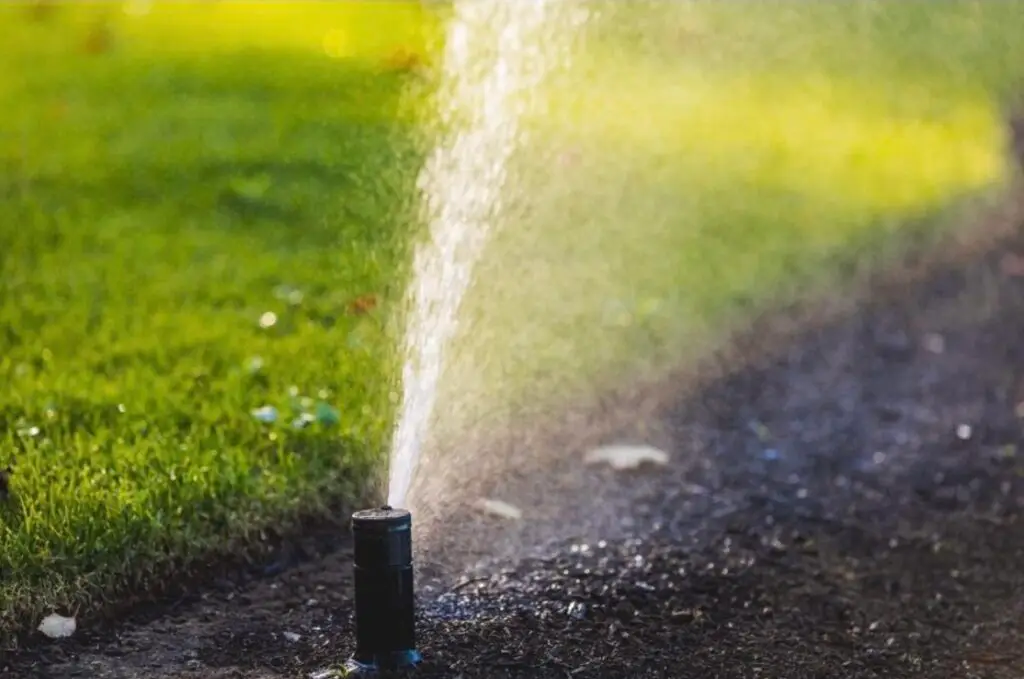
We’re well into the hottest part of the summer now, and our lawns, plantings, and gardens are looking very lush and healthy. Unfortunately, August is when droughts usually occur in New Hampshire, so it can be a struggle to keep our lawns looking green and our gardens well-watered. But with a little care, a well-designed […]
Outwit Those Pesky Pests
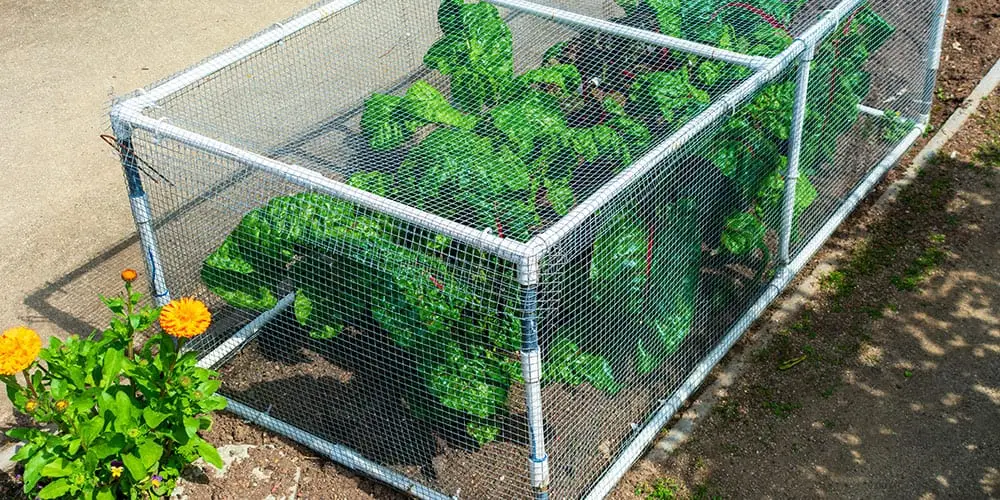
Now that summer is well underway, your garden is probably looking pretty good. Your tomatoes are turning red, your cucumbers are beginning to proliferate, and your zucchini are almost big enough to harvest. You can see all the hard work you’ve put into your garden beginning to pay off. But so can the pests, who […]
Springtime Success
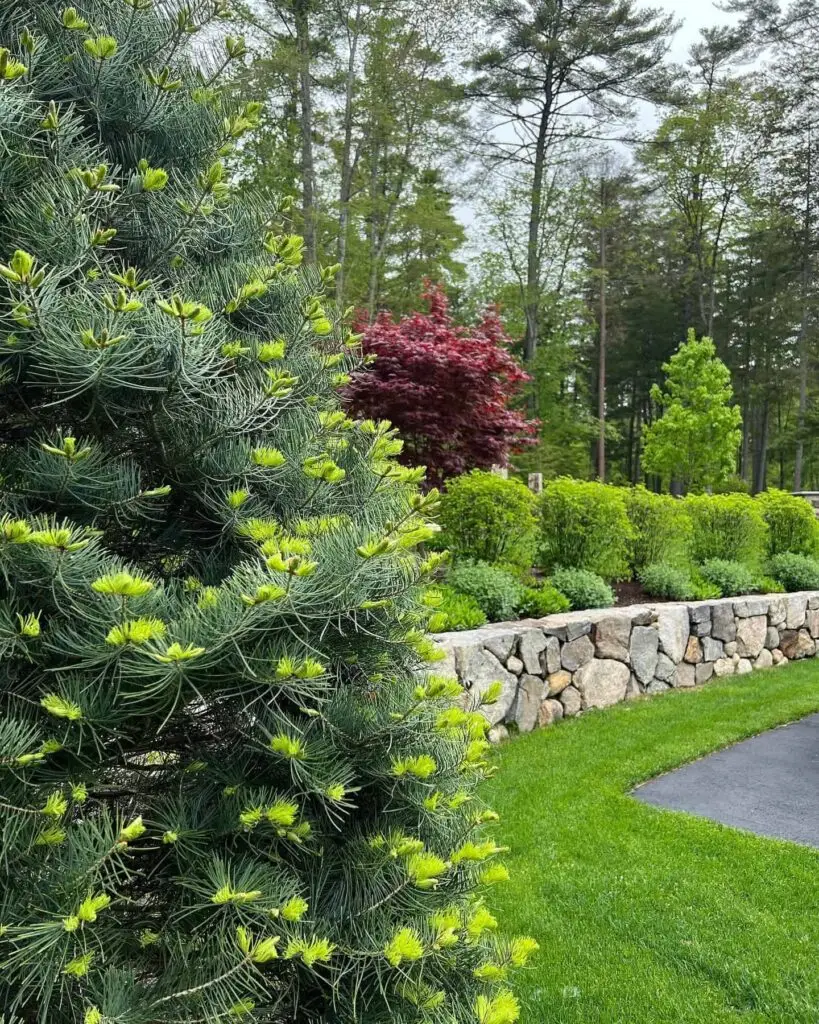
Now that the snow and ice are receding a bit, and we are beginning to get tiny glimpses of spring, it’s time to prepare our outdoor spaces for warmer weather. With a little bit of preparation, it won’t take much work to make your yard ready for use in the warmer months to come. Clean […]
Water and Your Landscaping
In this month’s blog, we’ll discuss how to deal with the water conditions of your property: having not enough and having too much. Dealing with Drought If it hasn’t rained for a while, look for signs that your landscaping is experiencing water stress—plants with stunted growth or brown or yellow leaves, trees dropping leaves and […]
Deer-Resistant Plants for the Lakes Region
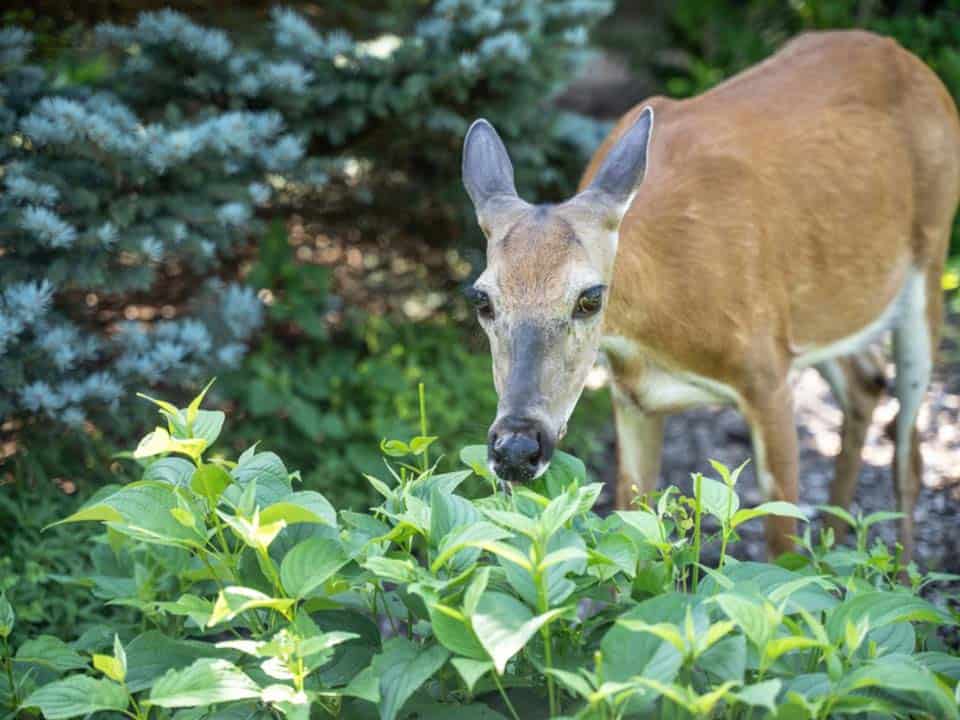
There aren’t any completely deer-proof plants. Deer eat almost anything when food is scarce, or their population is high. Like humans, deer have food preferences, even when they have many options to choose from. Depending on deer pressure, here is a selection of plants that we have found to be more and less susceptible to […]
Spring Pruning Techniques & The Best Time To Prune Which Plants
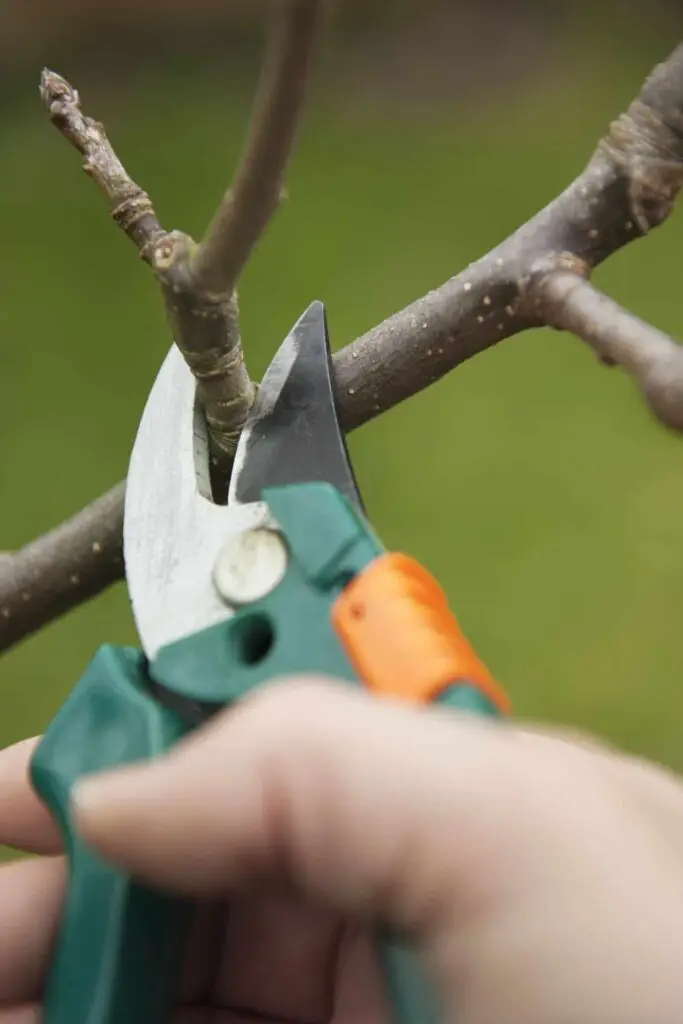
Pruning can be intimidating based on the decision of when to prune, how much to prune, and the proper types of cuts to make. Proper pruning is important and provides these important benefits. To maintain plant vigor. Create and preserve a good branch or plant structure Increase flower or fruit production on fruit trees. Improve overall […]
Poinsettia Benefits & Important Care Practices
Poinsettias are a classic plant choice for decorating your home or business for the holiday season. We have plenty to choose from here at the Stephens Landscaping Garden Center. Poinsettias are easy to care for and their vibrant foliage add the perfect finishing touch for any room. We have many different sizes and colors of […]