Water and Your Landscaping

Landscape Maintenance

In this month’s blog, we’ll discuss how to deal with the water conditions of your property: having not enough and having too much.

Dealing with Drought

If it hasn’t rained for a while, look for signs that your landscaping is experiencing water stress—plants with stunted growth or brown or yellow leaves, trees dropping leaves and have some dead branches, plants in the garden may not have flowers or start to seed early, and your lawn may start to show footprints or can’t “bounce back” after you walk on it or may even begin to show brown spots in some areas.

If a drought is coming, there are steps you can take immediately to minimize the damage:

  • Add mulch to garden areas and bare spots. Mulch keeps areas cool and traps moisture.
  • Don’t add any new plants; instead, focus your watering efforts to your existing landscape.
  • Don’t fertilize your plants or lawn. If you must fertilize, cut the amount of fertilization by half. Your lawn and plants are trying to survive, not grow. Fertilization is not needed at this time.
  • Pruning is not necessary, but remove dead branches and leaves, stalks, etc.
  • If plants look like they are going to die, remove them. Try not to waste water on something that will not make it through the drought.
  • Pull weeds. Eliminating weeds will cut down on unnecessary water usage, and your landscaping will look better.

When mowing your lawn, don’t mow too short. Keeping the blades long will shade the soil, reduce evaporation, and minimize any heat damage that may happen during the drought. Consider leaving the clippings on the lawn to help protect it and return nutrients to the soil.

If the drought is really bad and it looks like it will continue, consider letting your lawn go dormant; most grass is drought resistant and will recover when a steady supply of rain returns.

If you have ornamental plants around your yard, consider how long is left in the season. If it’s an annual, is it worth keeping them alive? If the season is almost over, it might be easier to let them die. If you’ve planted shrubs and trees in the past one or two years, they are more susceptible to being lost. Focus your watering efforts on new plantings, those plantings that are expensive to replace, or anything that you’ve planted that has sentimental value.

How to Water During a Drought

Once a drought is firmly established, soil will begin to harden and get impacted. Add water slowly so it gets absorbed instead of running off. A good way to make sure water gets absorbed well is to use soaker hoses. After running for an hour check that water has penetrated down about an inch; if not, run the water longer.

It’s best to water on a schedule, and to water in the early morning. This will stop the water from evaporating and allow time to soak in the soil. Do not water at night; wet grass overnight can cause fungus to grow.

If you have an irrigation system, it’s best to use a timer. Some irrigation systems can connect to your home’s Wi-Fi to monitor weather conditions. These systems control when and how you water your property and respond to water, weather, and soil conditions to deliver the right amount of water at the right time.

Water, Water Everywhere

What if we’re having a rainy summer and we’re experiencing the opposite problem? If you have noted areas of your lawn or garden where water pools, there are things you can do to avoid erosion and have your plants or lawn die from too much water.

One thing you can do is aerate your lawn to assure water is penetrating the dirt’s surface. By doing so, you’ll direct water to the roots of your grass, which will make it stronger and more lush when the rain stops. And it’ll make the soil less compact, allowing it to drain easier.

Make sure your gutters and downspouts are clean, so the runoff doesn’t create erosion around the foundation of your home, garage, or other outdoor structures and buildings.

When planning your landscaping, be sure to properly grade your lawn, garden, and flower beds. And choose plants that love water—ask us if you’re unsure.

For existing landscapes, add soil and grade the surface away from your home. Consider adding terraces to your landscape to help water run down slopes. Prune your landscaping to allow sunlight to dry areas.

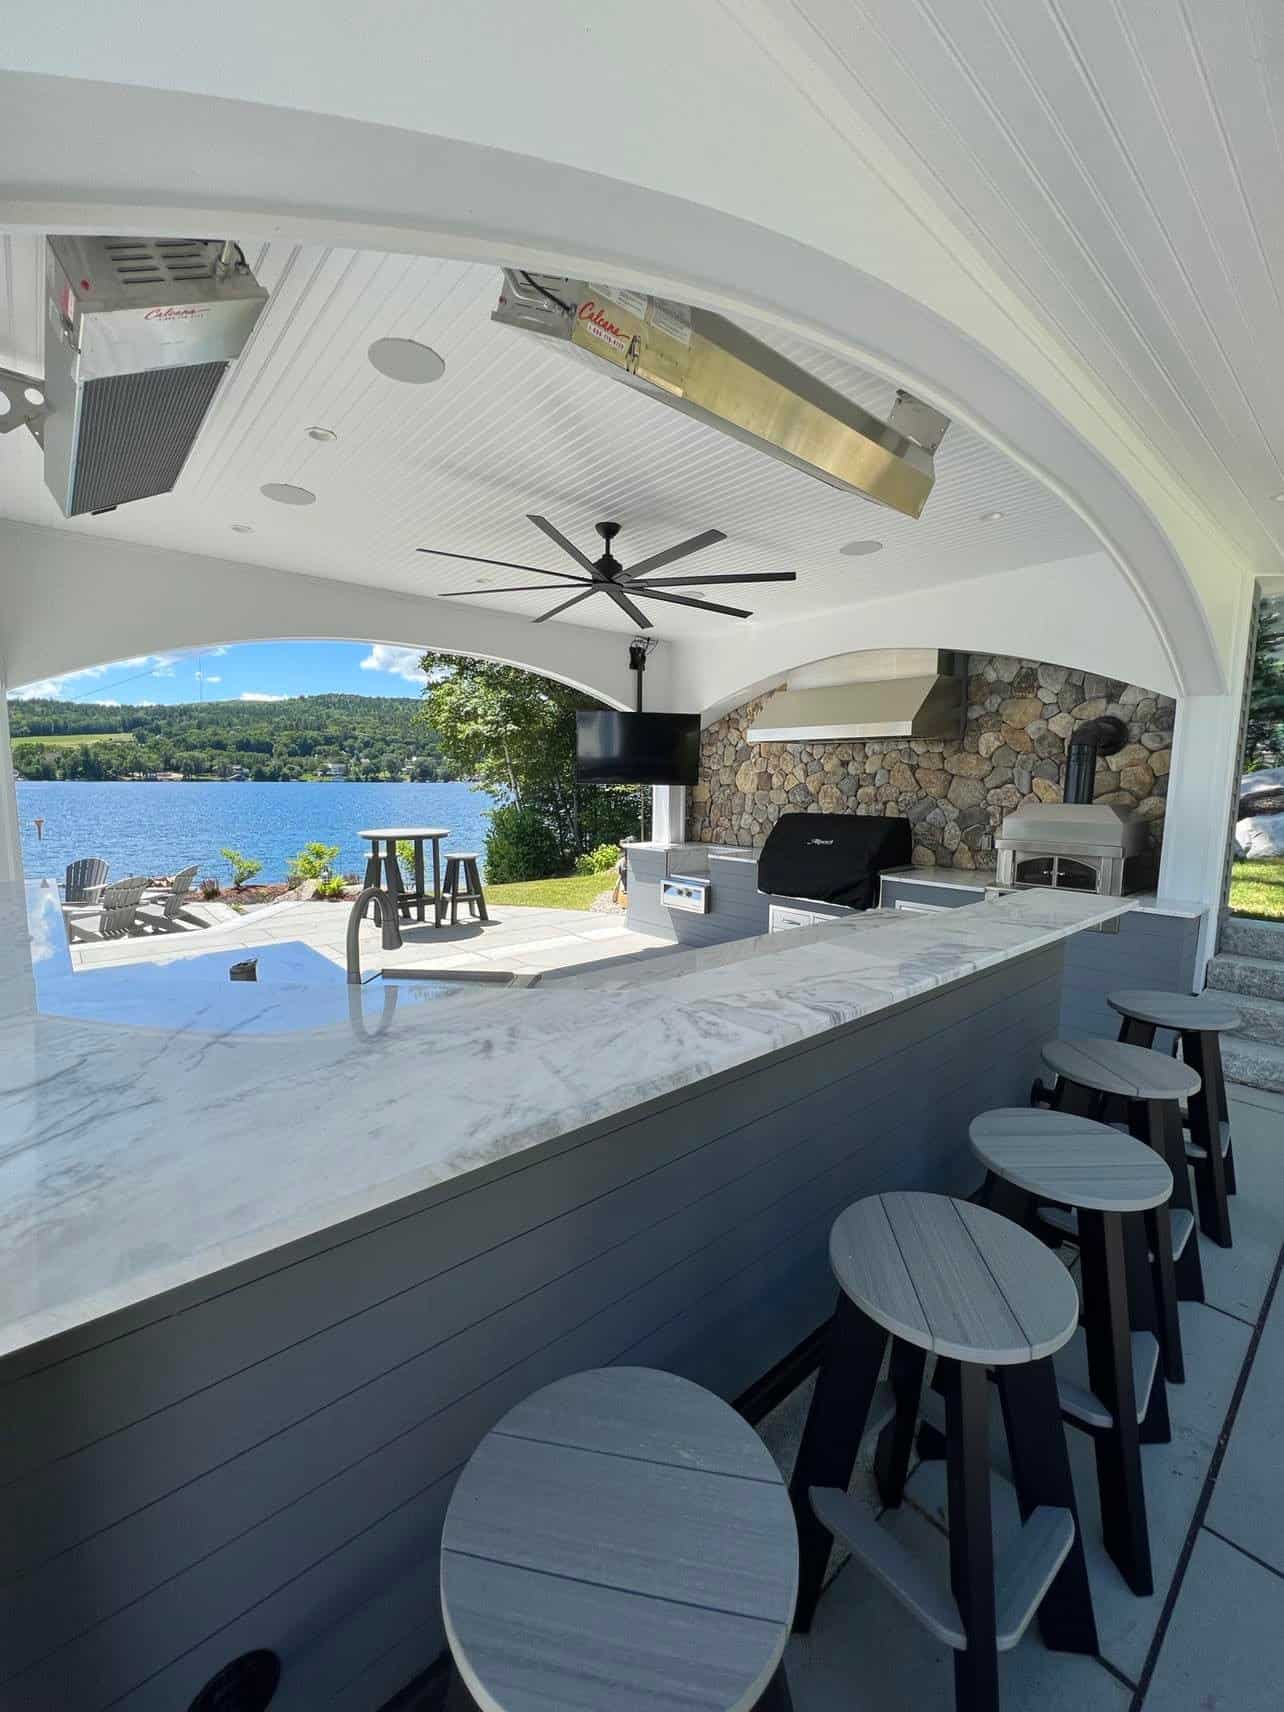
For areas that always seem wet or are susceptible to pooling, you might have to install a drain, or consider changing the layout to a hardscape. You can add a permanent water feature and incorporate that area, like a pond, water garden or even a meandering stream with a bridge to your yard.

At Stephens Landscaping, we have a lot of experience helping homeowners come up with a plan for drought and overwatering. Let us help you and your landscape; call us at 603.707.0630 or contact us today.

Love for Outdoor Kitchens

Landscape Design

Hot weather has come to New England, and we, of course, want to spend as much time as possible outdoors. And we certainly don’t want to heat up our kitchens and our houses while we cook. A great way to remain part of the summer fun and help beat the summer heat is to install an outdoor kitchen.

Outdoor kitchens have progressed beyond having a BBQ grill and mini fridge tucked away in the corner of the yard; many standard kitchen appliances are available in models that can be installed outdoors, so you can customize and design a kitchen that will truly fit your family’s needs and your home’s space and décor. Adding a beautiful and well-equipped kitchen greatly increases a property’s value; some homes have seen a return on investment of 100%-200%.

Create a Plan

Once you’ve decided an outdoor kitchen is right for you, you need to start by figuring out what you primarily want to do in this kitchen. It’s easy to get carried away while dreaming and designing, and as with every renovation, the costs can add up quickly.

Think about how your family eats, and how much you entertain. Will you need a brick pizza oven, or will a steel one do? Or do you need a pizza oven at all? Will you need taps in your wet bar, or will a built-in ice chest for chilling beverages suffice? A large grill is great, but will you need a roasting spit? Do you need a small grill or fridge, or larger ones?

There are so many appliance choices available, so taking time to think about how you use your outdoor space is really the best first step. You can fill your shopping list with “must haves” from there.

Choose a location

Think of an outdoor kitchen as an extension of your indoor kitchen. It should be located close to your indoor kitchen, if possible, to make the inevitable trips indoors to grab ingredients, pots and pans, etc., easier on the chef. The kitchen should be designed to keep the chef part of the outdoor activities, so as you’re choosing your location, allow space for seating in and around the kitchen area itself.

Consider how this kitchen will fit into your décor. Ideally, you’ll want this kitchen to be built with any stonework that already exists around your home, so you can match or complement the patio tiles or wall masonry. Will you be able to extend your roofline to cover this kitchen, or would you prefer this kitchen to be under an awning or located in a pergola or separate structure? The kitchen’s location would be best situated in a spot that’s at least partially shaded and away from the wind, to make it a comfortable spot for cooking, eating, and entertaining.

Kit it Out

Once you’ve thought about what you want to do with the space you’ve chosen, how your family eats, and how you want to entertain, now, it’s time to go shopping. There are so many choices available for outdoor kitchens when it comes to appliances and fixtures. Here are some quick “shopping” lists to help you consider:

Cooking

  • BBQ Grill
  • Pizza Oven
  • Roasting Spit
  • Smoker
  • Warming Drawers
  • Gas Side Burners
  • Gas Griddles
  • Hood Vent
  • Proper venting for Gas Appliances

Cooling

  • Refrigerator
  • Ice Drawers or Bins
  • Wine Chillers/Fridges

Wet Bar/Beverage Center

  • Sink
  • Blender
  • Kegerators
  • Taps

Standard Kitchen Necessities

  • Countertops/Prep surfaces
  • Sink
  • Dishwasher
  • Storage Cabinets, Drawers and Shelves
  • Trash/Recycling
  • Pantry Storage
  • Compost Bins

Entertainment & Comfort

Material Considerations

Choosing the materials for your outdoor kitchen build is like designing your indoor kitchen, but with one extra consideration: this kitchen must withstand the elements across all four of New England’s seasons. During the hot summer months, you must be able to touch surfaces without getting burned, and surfaces must be able to withstand the cold, snow, and sometimes abrupt changes in temperature we experience throughout the year.

For countertops, consider surfaces that are easily cleaned and that won’t readily show burn marks if hot pots get put down on them or show stains if something is spilled on them. Choices include:

  • Granite is always a good choice (we are the Granite state after all), but since granite gets hot in the sun, use it in shaded areas. If you must use it in the sun, choose a light color.
  • Quartz is another popular choice for countertops in indoor kitchens, but it will yellow in the sun and can’t stand up to our freeze/thaw cycles, so damage can occur.
  • Concrete is a good option and can be beautiful, but keep in mind that it needs to be sealed every couple of years.
  • Soapstone is beautiful in kitchens, but it scratches easily, and any oil will leave a stain.
  • Metal will be too hot to use as a countertop outdoors, and with our humidity and snow, will corrode quickly.

For cabinets, consider building cabinet frameworks out of stonework or masonry that matches your existing masonry or tiles. You can use stainless steel doors and cabinets that are nestled right into the stonework. If you prefer wood, there are many options that work well outdoors too.

At Stephens Landscaping, we’ve helped many homeowners design and plan their outdoor kitchens. We’d love to help you, too. To get started, call 603.707.0630 or email us!

Let the Music Play

Landscape Design

Now that summer is here, you’ll be spending a lot of time outdoors with your family and friends. From a simple night outside enjoying your property, to hosting parties, barbeques, and other gatherings, one thing that’s always on the menu is music. In this blog, we’ll run down things to consider before adding an outdoor audio system to your property.

Bring It Outside

The installation of an outdoor audio system may help you enjoy your outdoor spaces a bit more. Music is a welcome addition to family dinners and will also help pass the time as you work the barbeque grill. Soft background music helps fill in gaps in conversations, and what party is complete without a great playlist? But you can play more than music over outdoor speakers. You can take your workout outside, practice yoga on the lawn, or listen to motivational podcasts as you putter around the yard. You can even be outside and listen to the Patriots or Red Sox games, so you never miss a minute!

Getting Started

As you can imagine, an outdoor audio system is different than an indoor system. An outdoor system usually covers a bigger area, and its components need to withstand the elements. While you may use the system primarily during good weather, it needs to survive outside in all kinds of weather conditions.

To get started, you’ll need to decide:

  1. What kind of sound do you primarily want outside? Do you want music for parties, for soothing background “white noise”, or sports broadcasts? What do you want to be doing outside when you sound to accompany your activities? Of course, you can choose more than one option, but what were you imagining listening to when you began to think of installing an outdoor sound system?
  2. Where do you want to hear the sound? Do you want to primarily hear the sound in a patio area? Or do you want music by the pool, too? How about music around an area of your lawn, or even the entire perimeter?
  3. How do you want to control the sound? Do you want to hook outdoor speakers up to a phone or mobile device, use multimedia applications on a dedicated laptop, use an existing sound system in your house, or a traditional stereo system that showcases your vinyl collection? The quality of the sound depends on the speakers, of course, as well as the source of the music.
  4. Do you want a wired system, a Bluetooth system, or a mixture of both? It really depends on the size of the space you want to have the sound reach, and which type of sound you’ll be listening to.

Map Out Your Plan

Like any addition to a well-maintained landscape, you’ll need to plan where you want to install your equipment. While the controls will remain inside your home or pool house, you’ll need to map out where you would like your outdoor speakers to be located.

It’s very important to note that you cannot use indoor speakers outside; these speakers will not withstand the weather conditions outdoors; you’ll really want to get some designed specifically for outdoor use. Many quality outdoor speakers are made to be rust proof and airtight and deliver great sound amplification for the best sound quality.

Fitting in with the Landscape

Gone are the days of the big black speaker boxes that are obvious wherever you put them. Today’s speakers can be small, wall mounted and can be installed up in the rafters of pavilions and gazebos; small hockey puck sized speakers that can be placed unobtrusively amid the plantings and mulch around your yard, and even bigger speakers that are designed to look like rocks or lamps and can blend in seamlessly with your existing landscaping.

It’s a good idea to create a plan that incorporates a variety of speakers that would work best in your property, depending on their location. You could put speakers high up on the wall of your gazebo so they wouldn’t be readily seen, a couple of speakers in your shrubbery, and some lamp speakers along the pathways, for example. Again, it depends on what sound you want to reach along what parts of your property.

One last consideration—if you have an automated smart home or multi-room music system already installed, you can most likely add controls to your system to bring sound outside. Speak to your installer to see if a program or app can be added; you’ll still need to install speakers outside, of course.

At Stephens Landscaping, we’ve helped many homeowners install outdoor audio systems. We’d love to help you design and install a system that works best for you and your property. Give us a call at 603.707.0630 or reach out over email!

5 Reasons to Add a Landscape Water Feature

Landscape Design

Water features are a great choice for adding visual interest to an outdoor space, and their benefits extend well beyond the aesthetic. Below are our top 5 reasons to consider adding a pond, waterfall or other water feature to your landscape, as well as some popular designs we’re seeing.

1. Invite Relaxation & Stress Relief

Research has found that watching and listening to flowing water helps to relieve stress and create a feeling of calm. The soothing sounds of water in features such as fountains or streams promote peace and relaxation in an environment. Running and splashing water also creates a white noise effect, which can minimize other everyday environmental sounds (like traffic and neighbors) that may be less pleasing.

2. Promote Natural Cooling & Improve Air Quality

Many water features will create a cooling effect in the area around them by adding moisture to the air. Water also helps purify and improve air quality by creating negative ions in the air. Negative ions naturally pull toxins, pollen, and dust from the air. During hot summer days, you’ll enjoy sitting near your water feature, enjoying the cooler temps and pleasant atmosphere.

3. Add Beauty & Style

The addition of a water feature can add a striking focal point to your landscape. It can bring natural, tranquil beauty to an area that had been previously unused and extend your sense of style to the outdoor space. Tie an overall vision of your landscape together by incorporating design details or elements that you’ve used in other places; using the same tiles in a fountain that you’ve used in your walkways or patios, for example.

4. Increase Property Value

A beautiful and well-maintained water feature adds visual interest and charm for potential homebuyers and can increase the value of your property by extending living and entertainment spaces.

5. Attract Wildlife

The addition of a water feature to your landscape will attract wildlife almost immediately. Birds and insects of all kinds will be drawn to the water feature. While this can provide a bit of fun and entertainment for you and your family, attracting pollinators will also help your gardens grow healthy and birds will help keep the lawn soil aerated. Even your pets will love being able to trot over and sip water whenever they get heated being outside on hot days.

Types of Water Features

Once you’ve made the decision to add a water feature to your landscape, you’ll need to choose which type to install. Since there are many choices available, selecting one (or a couple) comes down to the size of your property, the outdoor space you have available, and what aesthetic you hope to achieve. Here are a few of the most popular water features we’ve seen and installed.

Ponds and Water Gardens
Ponds have been a classic landscaping choice for years and add a soothing touch of nature to your outdoor living space. Your pond may be a clean and clear body of water and be used as a reflecting pool. A waterfall can be added to generate soothing sounds of splashing water. Some ponds also have added interest like water lilies and other aquatic greenery, or colorful koi fish.

Streams and Waterfalls
Streams can meander through a large part of your property making it look as close to a natural stream as possible. Space permitting, you could add a waterfall as part of your stream if you have a section of property that has a nice pitch or slope. A waterfall can be created with either natural or manufactured stones and can be designed to break up into different pools or flow down a series of steps. The design is based on the size of your property and depth of your imagination.

Fountains
If you’re looking to add a stunning focal point to your landscape, fountains are the way to go. Much like the centers of European city squares, fountains are always the eye-catching center of attention. Fountains can be as simple or as ornate as you’d like them to be. They can be lower to the ground or tiered high and can have a sitting area made around the pool below them. You can even start a wishing-well tradition. Fountains can also be built recessed into walls, to add just the right rustic touch to a patio space. Most fountains run on recycled water, so the impact on the environment and your water bill is minimized.

At Stephens Landscaping, we have a lot of experience in installing and maintaining water features and would love to help you design and install a water feature of your own. Please call us at 603.707.0630 or contact us to start planning your project today!

Making the Most of Mulch

Landscape Maintenance

Mulching has been favored by gardeners and landscapers alike for many years, as mulching adds a nice finishing touch to well-landscaped grounds and protects plants, trees, and shrubbery. Since mulch can affect the soil beneath the mulch, it must be applied properly to not damage the root system of your plants. We’ll discuss what to consider when adding mulch to your property so you can make sure your gardens, yard and landscaping look their best year-round.

What is mulch?

Mulch is the name used for a substance that’s put on top of soil to provide protection or add visual interest to an area. When you are deciding which mulch to use in your landscaping, remember, the best mulch is an organic material, that is, it’s a substance that already comes from nature. Common mulches are made of bark/wood chips, and moss. Mulch comes in a variety of colors, so you can choose one that best complements your property features and landscape design.

Why use mulch?

Mulch has been used to add an aesthetic, decorative touch to landscapes for decades. Mulching around plantings, shrubs and trees adds a dimension of shading under foliage as well as contrast under brightly colored flowers. But mulch serves much more than a decorative purpose.

Mulch can help deter weed growth among your plantings by not allowing sunlight to pass down to them. It will help the soil around your plantings retain moisture, which is always beneficial to their growth, especially in dry periods. Mulch traps water and slows evaporation from the surface of the soil, so plants stay hydrated longer, reducing the need for frequent watering. It can protect your plants during periods of heavy rain, as it will absorb water and protect the roots; mulch will also help minimize soil erosion around your plantings.

Mulch can also help protect your plant’s roots during periods of extreme heat, as it acts as an insulator. The use of mulch can reduce the occurrence of heat damage to both the base of your plants and the surrounding soil. It will also help your plants resist pest and plant disease; in fact, organic mulches provide earthworms and micro-organisms with food, which is great for your plants and your plant health.

During decomposition, organic mulches add beneficial nutrients back into the soil, enriching your soil for next year.

Apply mulch correctly

Once you’ve decided on the “what” (type and color) of the mulch you want to use on your property, you’ll want to focus on the “how” of spreading the mulch. Improperly spread mulch can not only be disruptive to the overall design of your yard, it can also be damaging to a garden or landscape. Mulch that’s applied too thickly can be damaging to a plant’s root system and may stop water from making its way down to the root of the plant, or not allow the area surrounding a plant to drain correctly after watering or a rainstorm.

Start your mulch application by cleaning out the areas where you want to apply mulch. Take out the weeds, sticks, leaves, etc. that have accumulated over the winter months, and water if necessary. Then start spreading the mulch; it’s best to lay down mulch in a depth of approximately 2 inches.

If you’re putting mulch down around plants, shrubbery, and trees, etc., make sure to keep the mulch around three inches away from the plant itself, to help with air circulation around the root of the plant. However, if you’re mulching a vegetable garden, you do want to mulch right up to the stalk of the plant, to help with water retention. Water the whole area after mulching.

At Stephens Landscaping, we have a lot of experience with using many kinds of mulch, and we’d love to discuss which kinds and colors of mulch are right for your landscape and garden. Call us at 603.707.0630 or reach out by email.