Getting Your Gardens Started

Planting

Now that spring is in full swing and summer officially arrives at the end of the month, the time has come to get outside and plant our vegetable gardens. Here in New England, it’s customary to wait until after Memorial Day to plant anything outside, as it’s possible to get a killing frost until the end of May or the beginning of June. A frost is still remotely possible in very early June, but since your plants are so small at that point, it’s easy to cover them up for protection if needed.

Time to Transplant

If you have decided to plant a vegetable garden, chances are you planted seeds about eight to twelve weeks ago, and your seedlings are doing well indoors and are about five to six inches tall by now. Or maybe you decided to purchase a variety of seedlings from a professional garden center or greenhouse to give your garden an easier start. If you haven’t yet, stop by our Garden Center to see our wide selection of vegetable and herb starters, seeds, and supplies. However you choose to begin your garden, early June is the perfect time to transfer those seedlings outside and plant them in your prepared garden space.

Making your Choice

Vegetables that do well in our climate and that should be planted in early summer include:

  • Peppers: all varieties of bell peppers do well, as do spicier peppers like jalapeños, habanero, and cayenne peppers.
  • Tomatoes: it’s a good idea to plant a variety of tomatoes that will ripen throughout the season. Choose tomatoes that will give you an early harvest, some that will produce fruit mid-summer, and some that will hold out until late fall.
  • Brussels Sprouts: Plant these about a foot apart and fertilize them once a month. They should be ready to harvest by fall.
  • Eggplants: While we’re used to seeing dark purple eggplants, they actually come in a variety of colors, like pink, green, purple/white striped, or even black. Make sure to stake your plants, as the stalks will get weighed down as the eggplants grow.
  • Cucumbers: Since these are prolific producers, it’s best to stagger your plantings by a couple of weeks, to extend the production cycle long into the fall. Otherwise, you’ll find yourself picking a lot of cucumbers each and every week!
  • Cantaloupes and Watermelons: By selecting the right breeds for our cooler days and short growing season, you can grow sweet melons that will be ready to harvest by September.
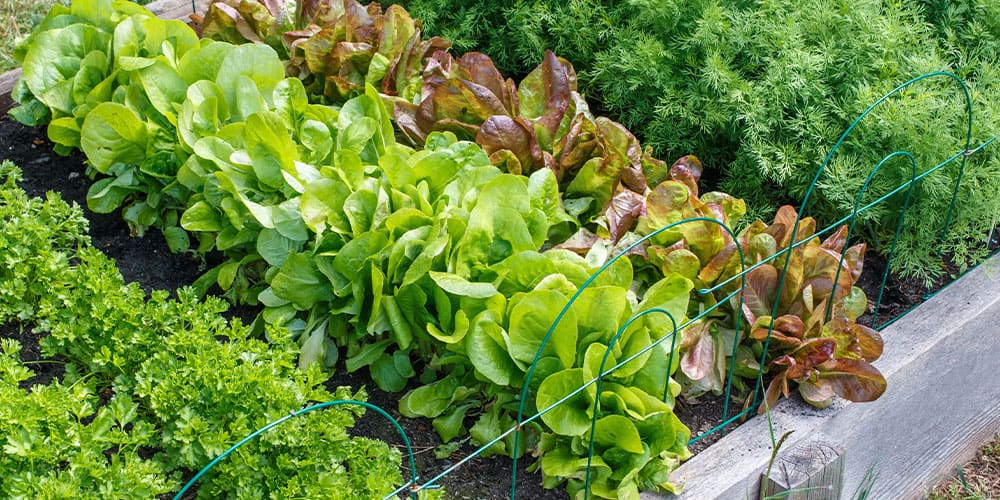
  • Lettuce: A quick grower (you’ll be harvesting leaves in about a month), be sure to select lettuce that’s heat tolerant for our hottest days, and harvest in the early morning or in the cool of the evening.

Starting from Seed

If you didn’t start your seedlings weeks ago, and you haven’t bought propagated plants from a nursery, fear not! There are vegetables you can grow directly from seeds planted in your own garden in June that will have enough time to grow and give you a good summer and fall yield. These vegetables include:

  • Beans (both bush and pole beans).
  • Squash, including Winter Squash, Summer Squash, and Zucchini.
  • Chard.
  • Potatoes, including Sweet Potatoes.

These vegetables, when planted directly from seeds in your outdoor garden in June, will grow steadily throughout the summer, and give you a nice fall harvest.

  • Corn.
  • Green Beans.
  • Okra.
  • Parsnips.
  • Pumpkins.
  • Tomatillos.

Seasoning your Veggies

Of course, by growing all those great vegetables, you’ll want to grow herbs to accompany your fresh veggies in recipes and in your canning efforts. Great herbs to grow in your garden include:

  • Basil: An easy plant to grow, you’ll get a great harvest. Be sure to remove the flowers when they pop up.
  • Oregano: This is a perennial. Keep it trimmed or it can be invasive.
  • Sage: This soft-leaved plant will repel bugs.
  • Thyme: You’ll be able harvest thyme all summer, but bugs love it as much as you do; it’s best to protect your plants with netting.
  • Rosemary: A prolific producer, you’ll be able to harvest all summer. Plant rosemary next to beans, cabbage, and peppers for a larger harvest. Keep it well watered, as it dies in drought conditions. And watch out for beetles, who love it; it’s best to protect your plants with netting.
  • Lavender: A colorful scented favorite, this plant loves heat. Bugs won’t bother it. It’s a perennial but will die in cold weather.
  • Chamomile: With pretty flowers reminiscent of daisies, this has been used to make tea for ages. It’s a perennial but will die in cold weather. Bugs love it, too, so it’s best to protect your plants with netting.
  • Dill: Don’t allow dill to flower; pinch them off when you see the flowers forming. As a perennial, it’ll come up every year.
  • Cilantro: A staple of Mexican cuisine, cilantro likes to grow in big clumps, so do not thin it out. It’s an annual, so if you like it, you’ll have to plant it every year.

Stephens Landscaping Garden Center-Moultonborough-raised garden bed

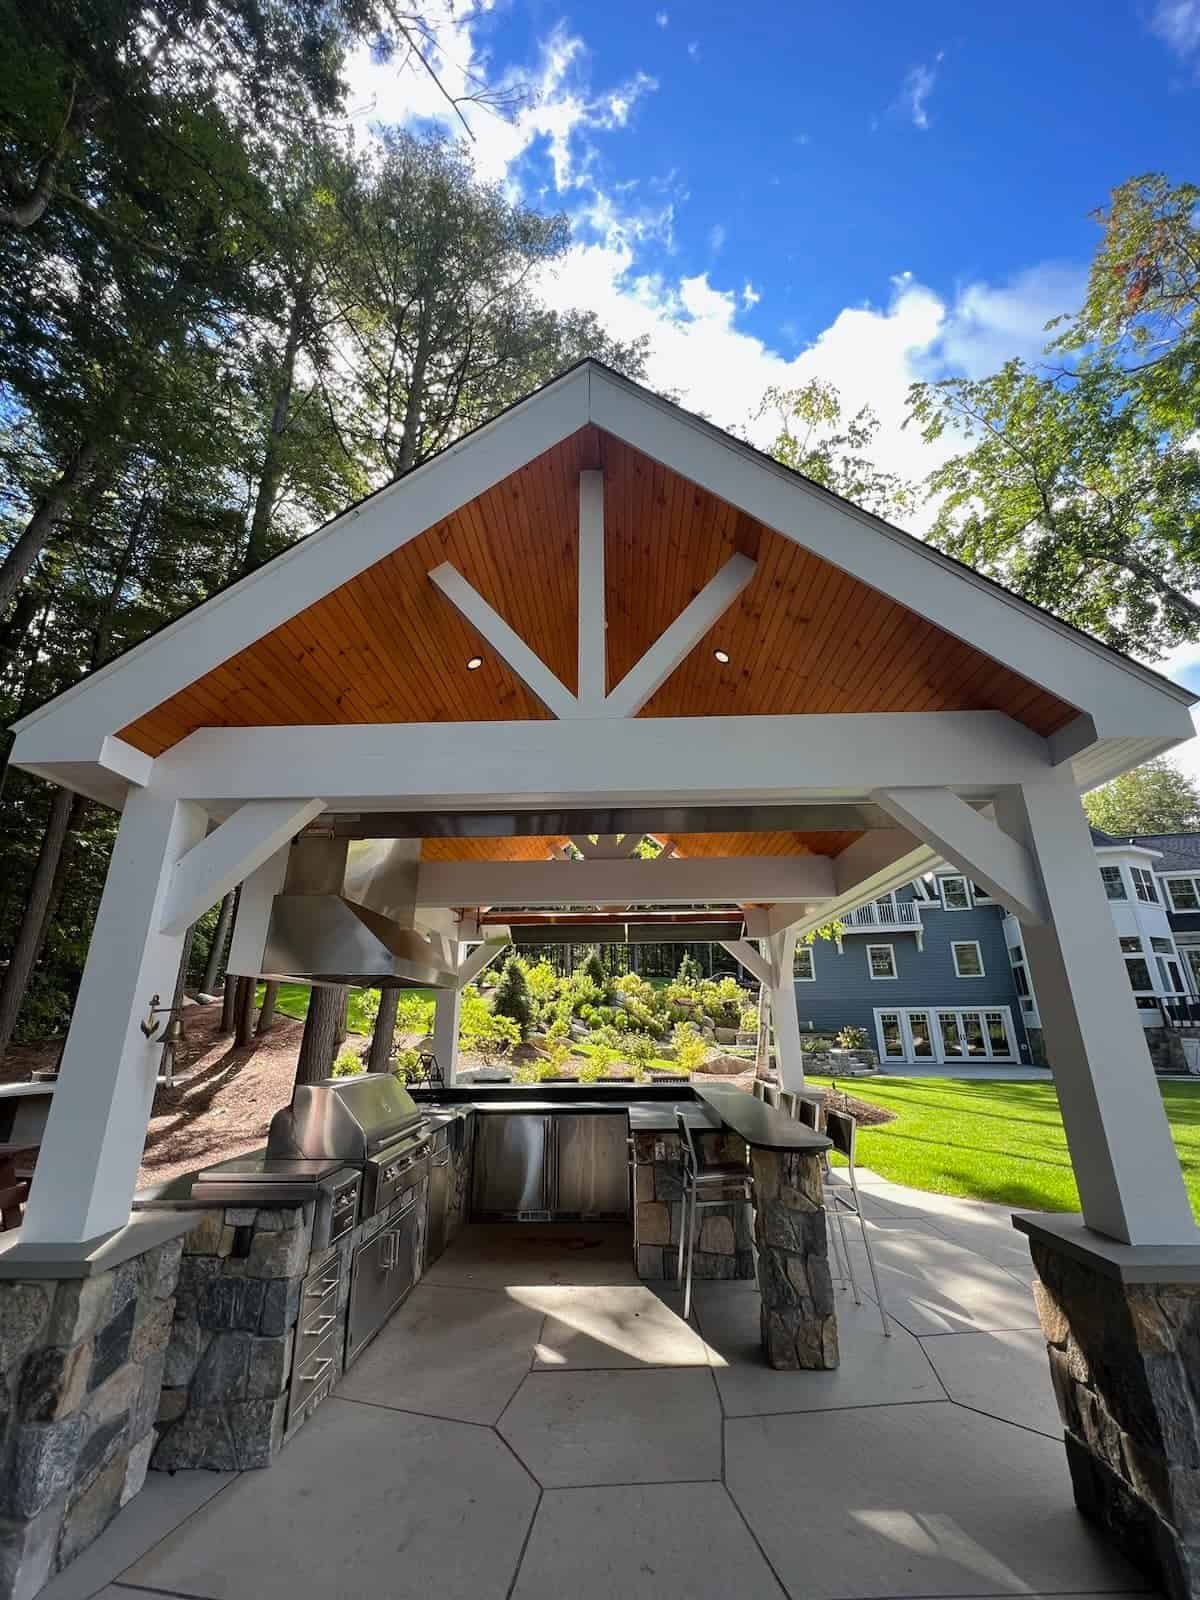
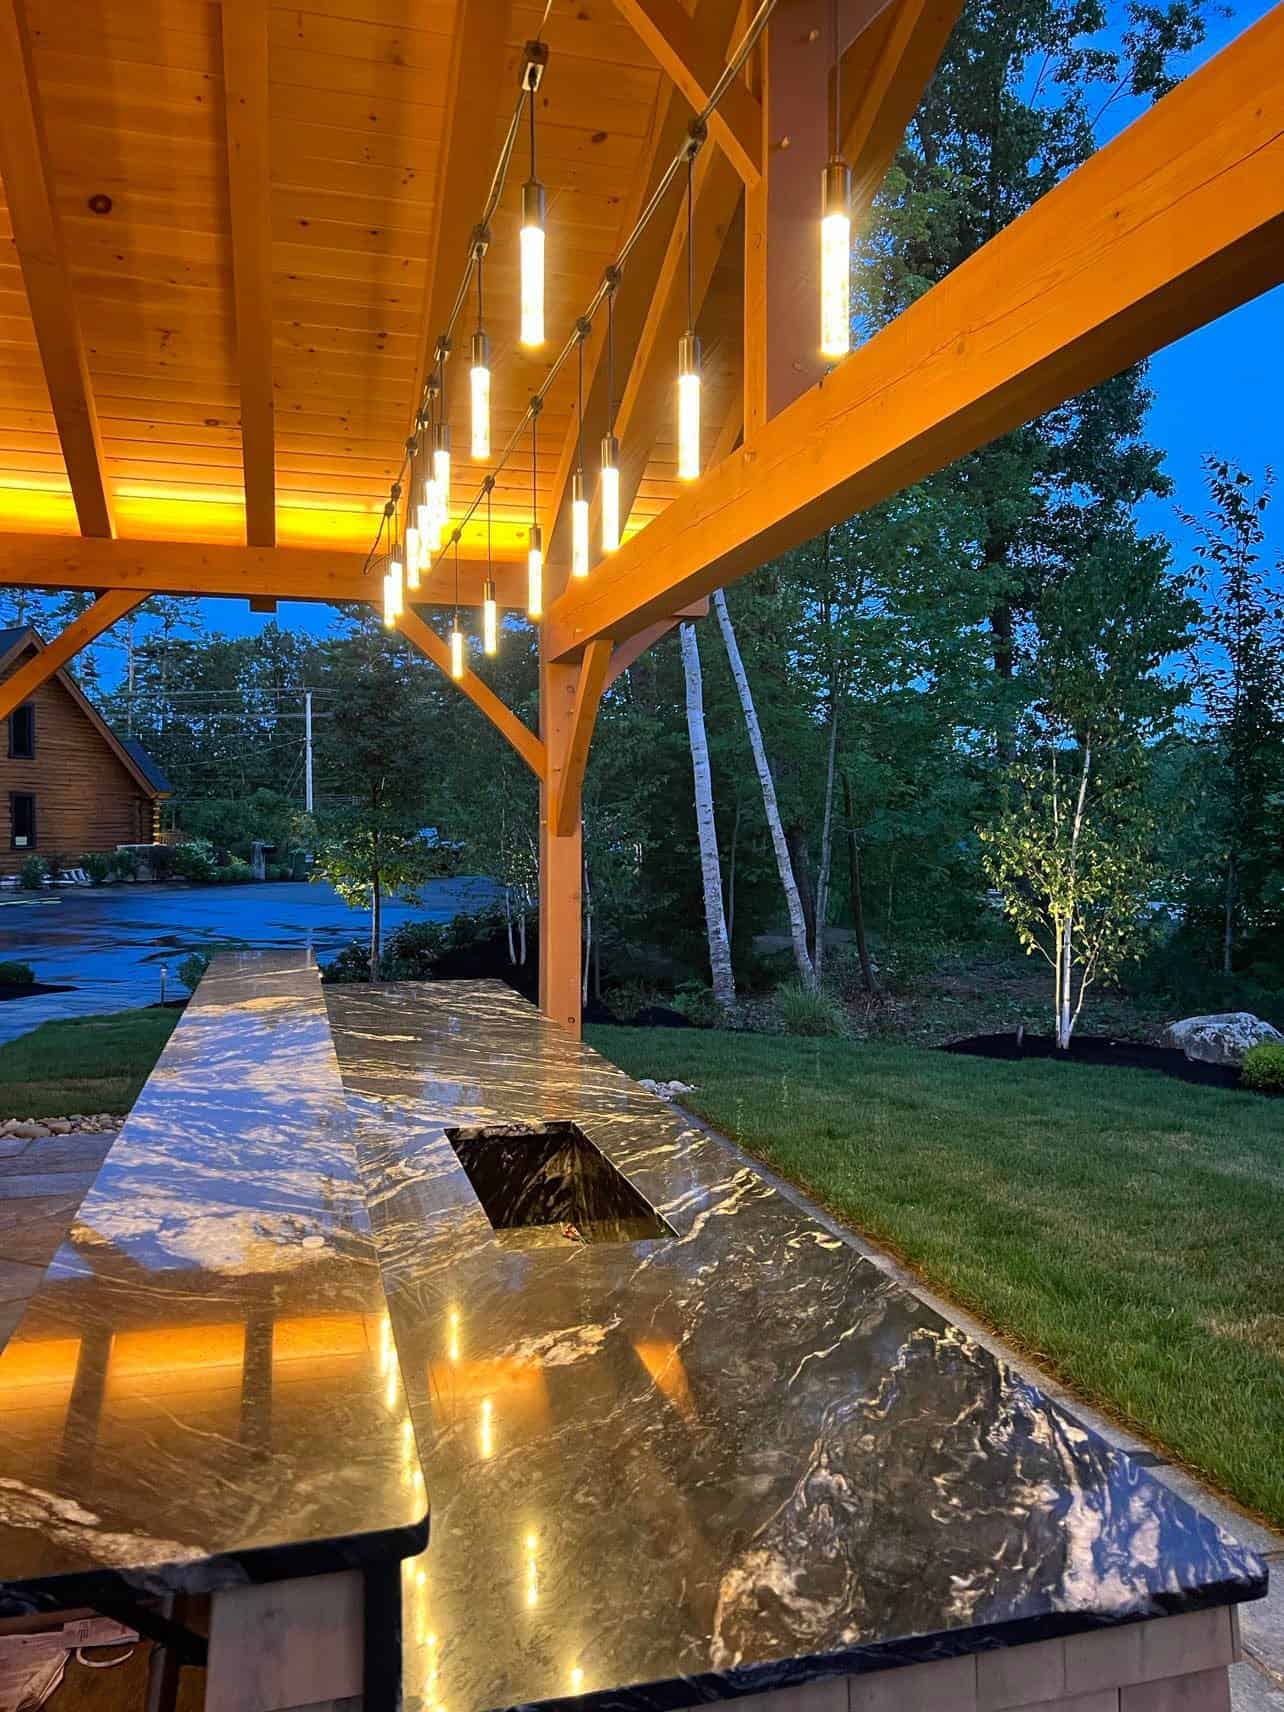
Perfect Pairing: Benefits of Planting Edible Gardens Near Your Outdoor Kitchen

Planting a vegetable or herb garden near an outdoor kitchen offers numerous benefits that can enhance your culinary experiences and overall enjoyment of your outdoor living spaces. First and foremost, having fresh produce readily available allows you to incorporate the flavors of just-picked herbs and vegetables into your meals. The convenience of harvesting fresh ingredients adds a delightful element to cooking, promoting a healthier and more sustainable lifestyle. Additionally, the proximity of a garden allows you to experiment with a wider variety of herbs and vegetables, including unique or rare varieties that may not be easily accessible in stores. This opens up a world of culinary possibilities and encourages creativity in your cooking. Tending to a garden can be a therapeutic and enjoyable activity, providing an opportunity to connect with nature and reduce stress. Ultimately, a vegetable or herb garden near your outdoor kitchen offers the satisfaction of self-sufficiency, the joy of flavorful and nutritious meals, and the pleasure of cultivating your own little patch of edible paradise.

The growing season in New England is short, so we need to make the most of it. With the right planning and the right vegetables, we can extend the season and have a great and bountiful summer. Happy planting!

We’ve helped homeowners prepare space for their gardens, including clearing, rototilling, fertilizing, installing irrigation systems, and mulching. We also love working with people to design and build outdoor kitchens, so if you’ve been dreaming of adding one to your property, let us help you make it a reality! Please call us at 603.707.0630 or email us to get started.

Decks and Docks: What is Best for You?

Landscape Construction · Landscape Design

Adding a deck to your property is a great way to maximize your outdoor living space. If you live beside a body of water, you’ll probably want to a dock so you can moor your boat, jet ski, or other watercraft. Or, perhaps the deck or dock you already have is beginning to show its age and needs to be repaired or replaced. What kind of deck or dock should you build,  and which material should you choose? In this blog, we’ll run down the differences in these materials to help you make an informed choice for what’s best for you and your property.

Wood

Wood has been the chosen building material for both decks and docks for many years. People often prefer the classic look of well-maintained decks and docks. A wooden deck or dock that’s cared for has a life expectancy of about 20 years.

Things to remember if you are thinking about using wood in your build is that wood must be re-stained every couple of years and resealed every year or so. Eventually, wood will rot, warp, and accumulate some insect damage over the years. Wood is also subject to splintering as it dries, so that is a consideration if you or your kids and grandkids like to go barefoot in the summer.

You could use a hardwood instead of pressure treated lumber for your deck or dock. These woods are more resistant to rot, mold, and algae. Ipe wood, for example, is more durable and has a longer lifespan than softer woods like pine or cedar (50-75 years as opposed to 20 years).

However, these kinds of woods are more expensive and decks and docks made from these kinds of hardwoods must be cleaned and oiled regularly (ideally once a year) to keep their beautiful graining, or they will fade quickly and lose their color. Make sure to use oils that reduce slipperiness.

Composite

Composite decking materials are made up of a sustainable variety of recycled substances, usually a mix of natural and synthetic materials like wood fiber, plastics, and other additives such as fiberglass or polyethylene. Composite boards are made to look like wood, and are produced in standard timber widths and lengths. These boards are available a variety of colors and wood grain patterns.

These composite decking/dock materials are easy to maintain and do not ever need to be painted, sealed, or stained; just give them a power wash occasionally, and they will look like new. Composite boards will not splinter, rot, or be eaten by insects, and are good at withstanding stains. They are built to have UV resistance, so fading is diminished. A composite deck/dock will last about 50 years.

Composite deck materials are a bit pricier than wood, but as lumber prices have increased, the gap between the pricing of wood and composite is getting smaller.

Composite for Docks

If you are considering composite decking for your dock, you should check out composite boards made specifically for marine environments.

There are companies who manufacture composite planks especially for wet environments like docks and marinas, and whose materials can be used over and underwater without fear of damage from warping, rotting, or swelling. These boards offer virtually no water absorption and will not be damaged by insects. Boards stay cool on hot days and are slip resistant to add more safety around the water. (These boards would be great to use around a pool, too!)

These are our top materials from which to choose when building or repairing your deck or dock. Which one would work best for your property depends on your needs, installation environment, budget, and how much maintenance and upkeep would be necessary to keep your deck or dock in the best shape.

We’ve helped homeowners decide, design, and build decks and docks to make the most of their outdoor spaces for increased property value and enjoyment. We’d love to help you with what’s the right choice for your property and lifestyle. Please call us at 603.707.0630 or email us to get started.

Extending Your Time Outdoors

Landscape Construction · Landscape Lighting

Winter is gone, and spring is finally here. The days are getting warmer and longer, and you may find yourself wanting to spend more time outside. If you’re looking for a way to enhance your outdoor living space and add value to your property, you might want to consider adding a pavilion.

What Is a Pavilion?

A pavilion is an outdoor structure with a roof that is typically open on all sides and supported by columns or posts. They are customarily placed on top of existing patios or decks. Pavilions are designed to provide shade from the sun and offer protection from rain for the seating or patios and decks below them. They’re incredibly useful spaces and since they offer protection from weather, they are a great place for a fireplace or outdoor kitchen. Pavilions can be built in a wide range of designs, styles, and sizes.

Why Add a Pavilion?

Think of a pavilion as an extension of your home; it’s an extra outdoor room, which can be used for a variety of purposes depending on your lifestyle and preferences, such as:

  • Outdoor entertaining: A pavilion can provide a space for outdoor entertaining and hosting gatherings. It can be designed to house an outdoor kitchen, bar, grill, and pizza oven. Add tables and chairs to create an outdoor dining room.
  • Relaxation and recreation: A lounge area with comfortable furniture can offer a peaceful retreat for relaxation and recreation, such as reading a book, a space for meditation or practicing yoga, or playing games with family and friends. Pavilions make great spaces for outdoor pool, poker, or other gaming tables.
  • Protection from the elements: A pavilion offers shade and protection from the sun, wind, and rain, allowing you to enjoy the outdoor space even in less-than-ideal weather conditions. A pavilion can also be used as a protective roof over a hot tub or spa and makes a great place for a fireplace.
  • Aesthetic appeal: Pavilions can be designed to complement the architectural style of your home and add visual interest to the surrounding landscape. They can be situated to showcase beautiful views or landscaping features, as well as add privacy.
  • Increased property value: Building a pavilion can add value to your property, as it provides an additional living space and can enhance the overall appeal of the landscape.

Designing Your Pavilion

You’ll want your pavilion to tie in with your landscaping and add to your home’s overall aesthetic. There are many pavilion designs and styles from which to choose. Some common pavilion designs include:

  • Square or rectangular is the most common shape and features a shingled or metal roof and four or six posts.
  • A double tiered roof has become popular and adds nice visual interest to a patio or deck.
  • A hex bell roof pavilion is an elegant style, recalling the old bandstands on the town commons.
  • The open gabled look has exposed beams and high arches and has a log cabin look.
  • A rough-cut cedar style pavilion is similar to the open gabled look and is also reminiscent of a log cabin.

With a range of designs and styles available, pavilions can be customized to fit your specific needs and preferences and enhance your enjoyment of the outdoors, making them a versatile and functional addition to any property.

We have a full design and build team and would love to help you explore the benefits of adding a pavilion to your property. We’re here to help you create the right design for your landscape and lifestyle. Please call us at 603.707.0630 or email us to get started.

Springtime Success

Landscape Maintenance

Now that the snow and ice are receding a bit, and we are beginning to get tiny glimpses of spring, it’s time to prepare our outdoor spaces for warmer weather. With a little bit of preparation, it won’t take much work to make your yard ready for use in the warmer months to come.

  1. Clean debris. The first thing to do is to walk around your yard and see what happened over the winter. You’ll likely notice debris and broken branches left over from the winter storms; leaves that fell after the snow started or that didn’t make it into the last fall clean up; long forgotten birds’ nests, paper, wrappers, and other miscellanea that blew in from the road. A quick raking will take care of all these issues and make your yard look cleaner in no time.
  2. Trimming. Next, you should trim bushes around your property that may be overgrown, or whose branches might have received damage from heavy snow. It’s also a good time to trim tree branches that may be dead; with no leaves on them, you can really get up close and inspect the branches thoroughly.
  3. Mulch. Late April or May is a generally good time to apply mulch around trees, shrubs, and other plantings. This is because weeds have not had a chance to grow yet, and the soil is beginning to warm up. Mulching in the spring will also lock in nutrients needed for your plantings and add to your yard’s aesthetic when the warm weather comes, and everything starts to grow and bloom.
  4. Fertilize the lawn. The grass is waking in the spring and needs to be fed, and late March/early April is the perfect time to start applying fertilizer. It’s also a great time to deal with crabgrass if you have patches of it on your lawn.
  5. Spreading the snow. If you have big piles of snow on your lawn, it’s a good idea to spread it around on your lawn more evenly, so some spots of the lawn aren’t overly wet while others remain dry. (Try to stay off the overly wet part until it dries out a bit to give the grass a chance to grow and not have that area become a muddy mess.)
  6. Reevaluate entertainment areas. Now is also a good time to consider how you’re using your outdoor spaces, and decide if you want to make any changes to add or expand on any entertainment areas like an addition of a pergola or pavilion, a built-in spa or hot tub, or designing an outdoor kitchen for example.

Garden Planning

After the black and white panoramas of winter, the thoughts of spring’s color fill many of us with cheerful anticipation. Many of us love the beginning of spring because it’s the signal that we can get our gardens going!

Spring is the perfect time to plan what you want to plant this year. Walk around your property and see if you’d like to make any changes to your landscape, like adding new flowers, shrubbery and trees, or maybe even a fruit or vegetable garden, for example. Spring is also the time to think about replacing what may have died or been irreparably damaged over the winter.

If you are planning a vegetable or flower garden, you will need to start your plants early indoors or in a greenhouse if you are not buying your seedlings from a commercial grower; traditionally, the seedlings are planted outside in New Hampshire after Memorial Day because that’s the last date we can be sure of avoiding a killing frost.

However, you can prepare your outdoor garden soil now by cleaning up any debris, including any old mulch and dead leaves in your proposed garden space. You’ll need to pull any weeds or annuals that may have wintered over in your garden, and loosen the soil with a tiller as the weight of the snow may have compacted it a bit; you can add compost at this point as well, to make sure the soil is well fertilized.

With a little thought and advanced preparation, your landscape, gardens, and entertainment spaces will be ready for spring. We’ll be happy to help with all of this, including creating a master plan for spring success and making the most of your outdoor spaces for increased property value and enjoyment. Please call us at 603.707.0630 or email us to get started.

Childhood Fun in the Great Outdoors

Landscape Construction

The allure of a treehouse speaks to the child in all of us. Perhaps you had one in your yard growing up, or you coveted a friend or neighbor’s. It was likely made from plywood and timbers left over from a project, but in your mind, it was the best structure in the world. And maybe you had one of those play sets with two swings with plastic seats, and a metal slide that got really hot in the summer, but that never stopped you from playing on it all the time.

While those treehouses and basic play equipment still exist, the options for treehouses and other play structures have gotten more diverse and luxurious. If you want to add a bit of fun on your property for your kids, grandkids, or maybe even yourself, an upscale treehouse, play structure or both may be just what you are looking for.

Up in the Treetops

A basic treehouse is a platform built on a tree trunk, accessed by a ladder. After that, the rest is up to your imagination—treehouses can be as simple or as extravagant as you desire. Treehouses have always been a favorite place for children to escape, explore, and dream, and now many adults are finding treehouses to be the perfect location for private retreats, yoga studios, and even office spaces.

Treehouses can be one room structures built on a platform and have four walls and a ceiling. You can add a second room, a second story, or multiple entrances and ladders. Adding a porch or a balcony will give you more space and make it more decorative.

Plan Your Adventure or Retreat

There are plans available online for more elaborate treehouses intended to look like mini homes; there are even tree homes that can be designed to complement or even mimic your home’s design or aesthetic.

If you are building a treehouse for your children, you might want a design that’s made with a bit of whimsy, like a medieval castle built for a prince or princess, a fortress perfect for knights to storm and defend, or boats to sail on the seven seas or the mighty lakes.

If you are building a treehouse for an adult getaway space, consider a design that best suits your purpose. A yoga studio will need many windows to best capture light and the beauty of literally being in the middle of nature. A place to relax and unwind, like a “she shed”, may need to face away from the house, toward the lake or scenic view. If you plan to use this as extra office space, you may decide on fewer windows for fewer distractions and privacy. Or you may design your treehouse as an extension of your personal style or hobby; treehouses that look like a log cabin or a pagoda are popular.

Fitting It In

We’ve seen some treehouses that make use of more than one tree for support, so you can create a little “tree village” that is connected by gangplanks and rope walkways. Don’t worry if your trees are not mature enough to support a tree house or two; tree houses can also be built on poles; all that matters is that they are made to be structurally sound to keep your family safe.

Whatever the purpose or design you are going for with your treehouse, it’s best to check with your local authorities if you need any permits to build, especially if your tree house will have electricity or running water.

Play Sets

Today’s play sets have come a long way from the metal slide, and plastic swing sets many of us remember from our childhoods. Built from various materials, today’s play sets are fully customizable and can be designed to grow as your children do, and many are ADA-compliant as well. You can start with a basic set that’s perfect for toddlers and add on elements as they grow, making sure they keep interested and active.

Kitting out play sets doesn’t have to only include just swings; many are multiple levels and can consist of a playhouse or fort built on a second story, a slide, a climbing wall, ladders, and swings. Some may have platforms and balconies where kids can play lookout and monkey bars to make their way from one section to another. Some have picnic tables built in and can include activity and learning panels to create fun and educational memories.

Where the Play Happens

When deciding where to put your play set, keep a couple of things in mind:

  • Keep it close enough to the house where you can keep an eye on the kids while they are playing, but far enough away from the house to make sure they can play safely. You don’t want them falling off and into any walls, for example. (And a bit away from the house will give you a break from the sound as well.)
  • Make sure there’s enough room all around the play set for the kids to comfortably play. You want them to be able to run around and not be hindered by trees, fences, etc. This is especially true if your play set has swings.
  • Be mindful of your neighbors. You don’t want to put your play set close to your property line, as kids will be making a lot of noise while playing for hours on this play set.
  • If you are considering adding onto your play set in the future, going from a toddler set to older children, for example, make sure you have room for future equipment or structure expansion.
  • Make sure the area you have chosen for your play set is relatively flat. If not, make sure to have it flattened before it’s installed.
  • You might want to consider putting down a soft surface under the play set, like play mats or rubber mulch.

We love helping homeowners add treehouses as well as different kinds of play structures to their properties, and we’d love to collaborate with you to design the plans of your dreams. Please call us at 603.707.0630 or email us to get started.